Calendar
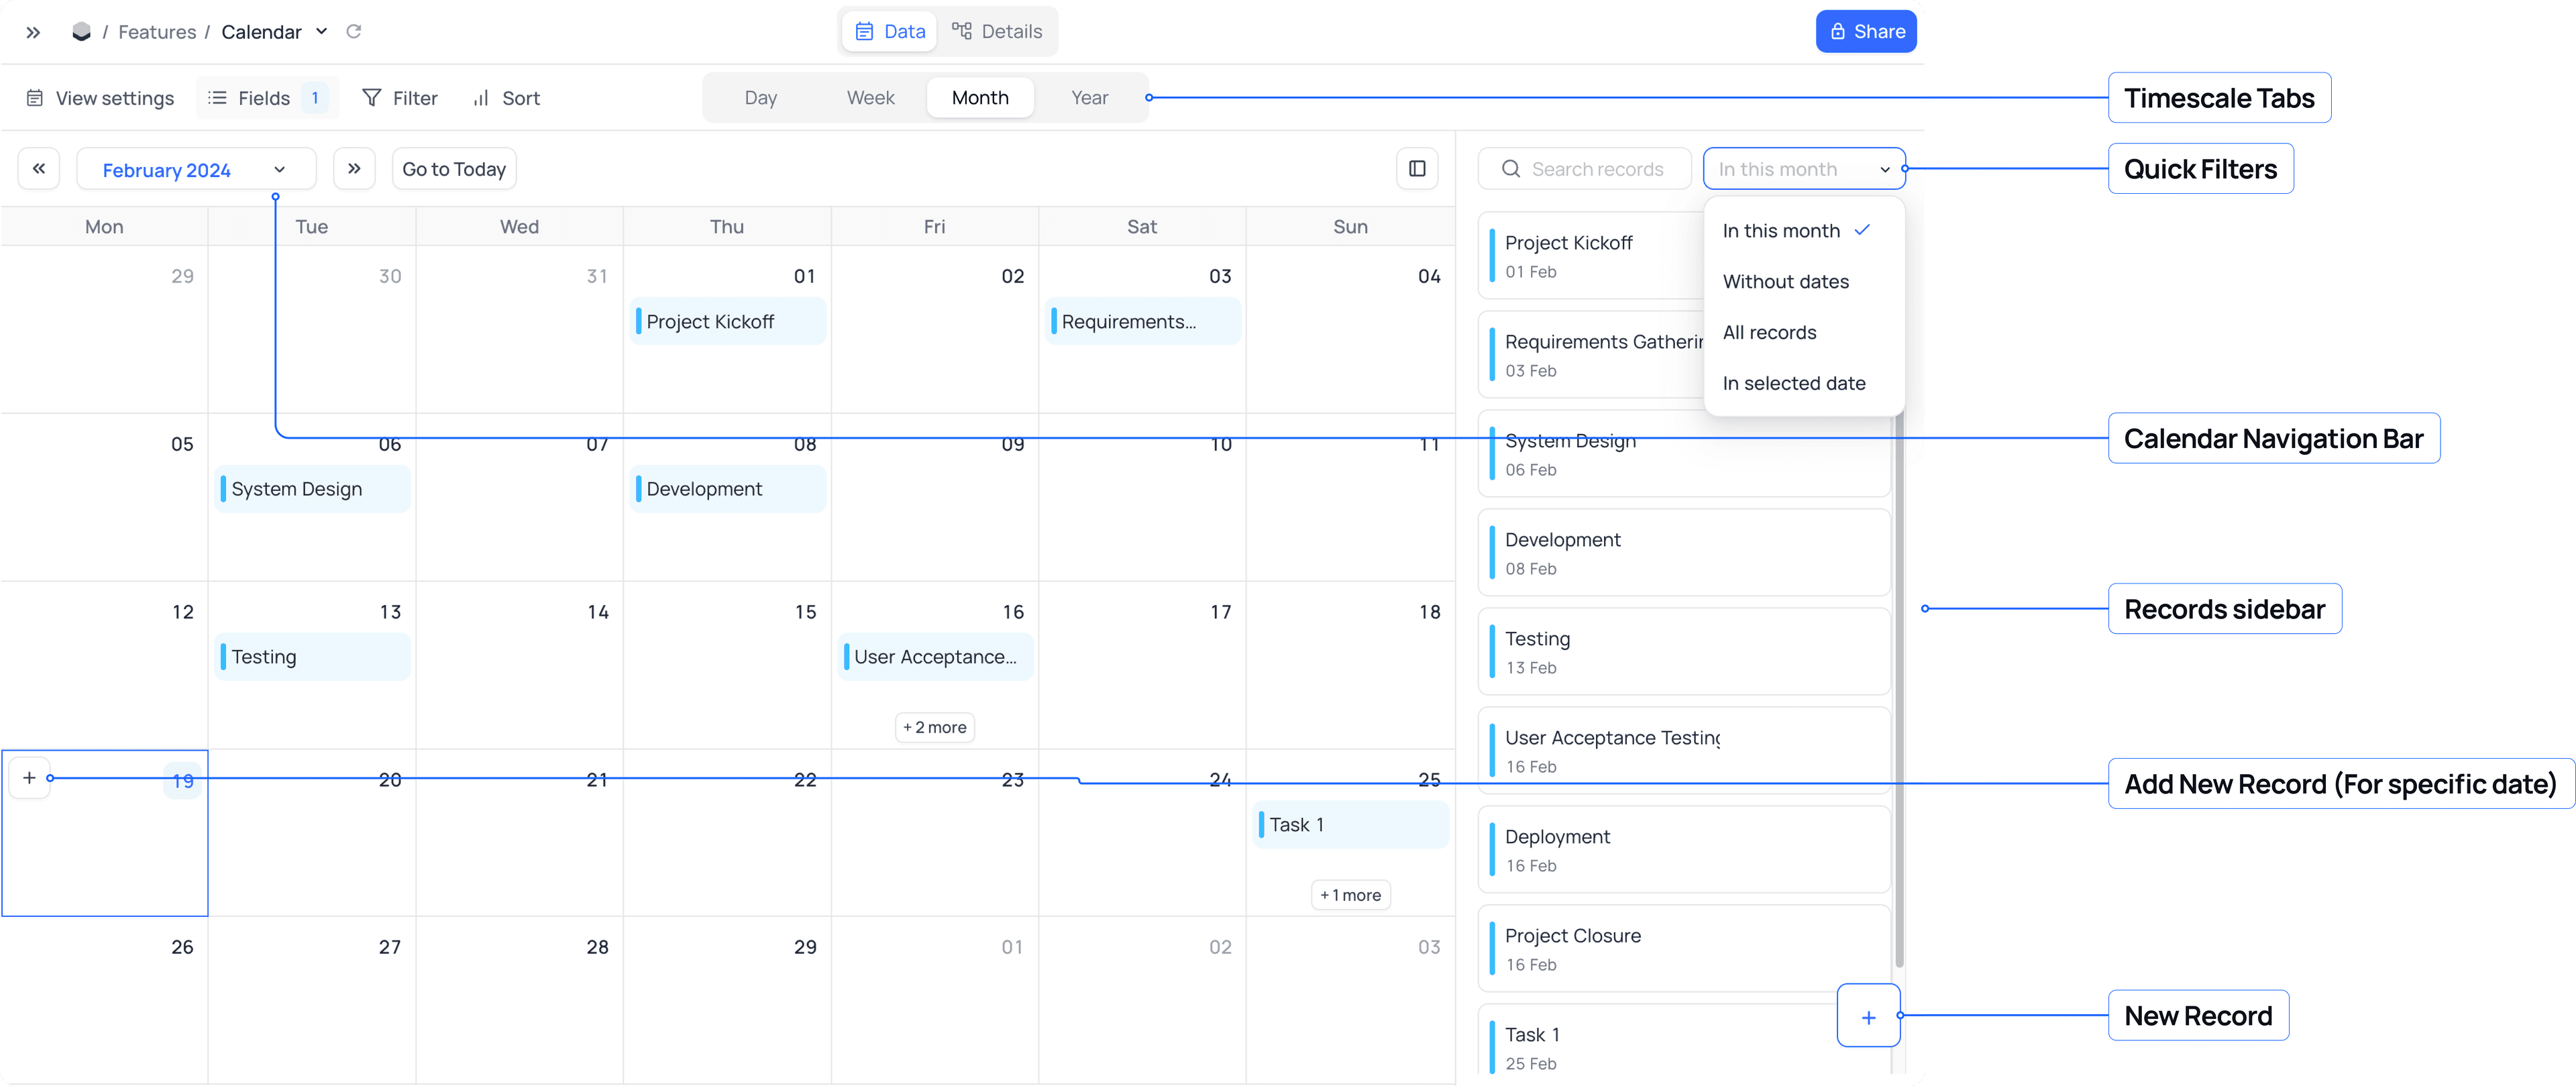
The Calendar view shows your records in a calendar. Drag a record to a different date to move it. You can show the records by day, week, 2 weeks, month, 6 weeks or year. This section gives all the operations for the Calendar view.
Copy a prompt, paste it into NocoAI in any base, and replace the words in [brackets] with your own.
- Create a calendar view of this table using [Date]
- Create a calendar view of [Events] that shows only [confirmed] events
- Add a [Due Date] field and create a calendar view on it
Calendar View Actions
- Create a New Calendar View
- Rename an Existing Calendar View
- Duplicate a Calendar View
- Remove a Calendar View
- Share a Calendar View
- Lock Calendar View for Edits
Timescales
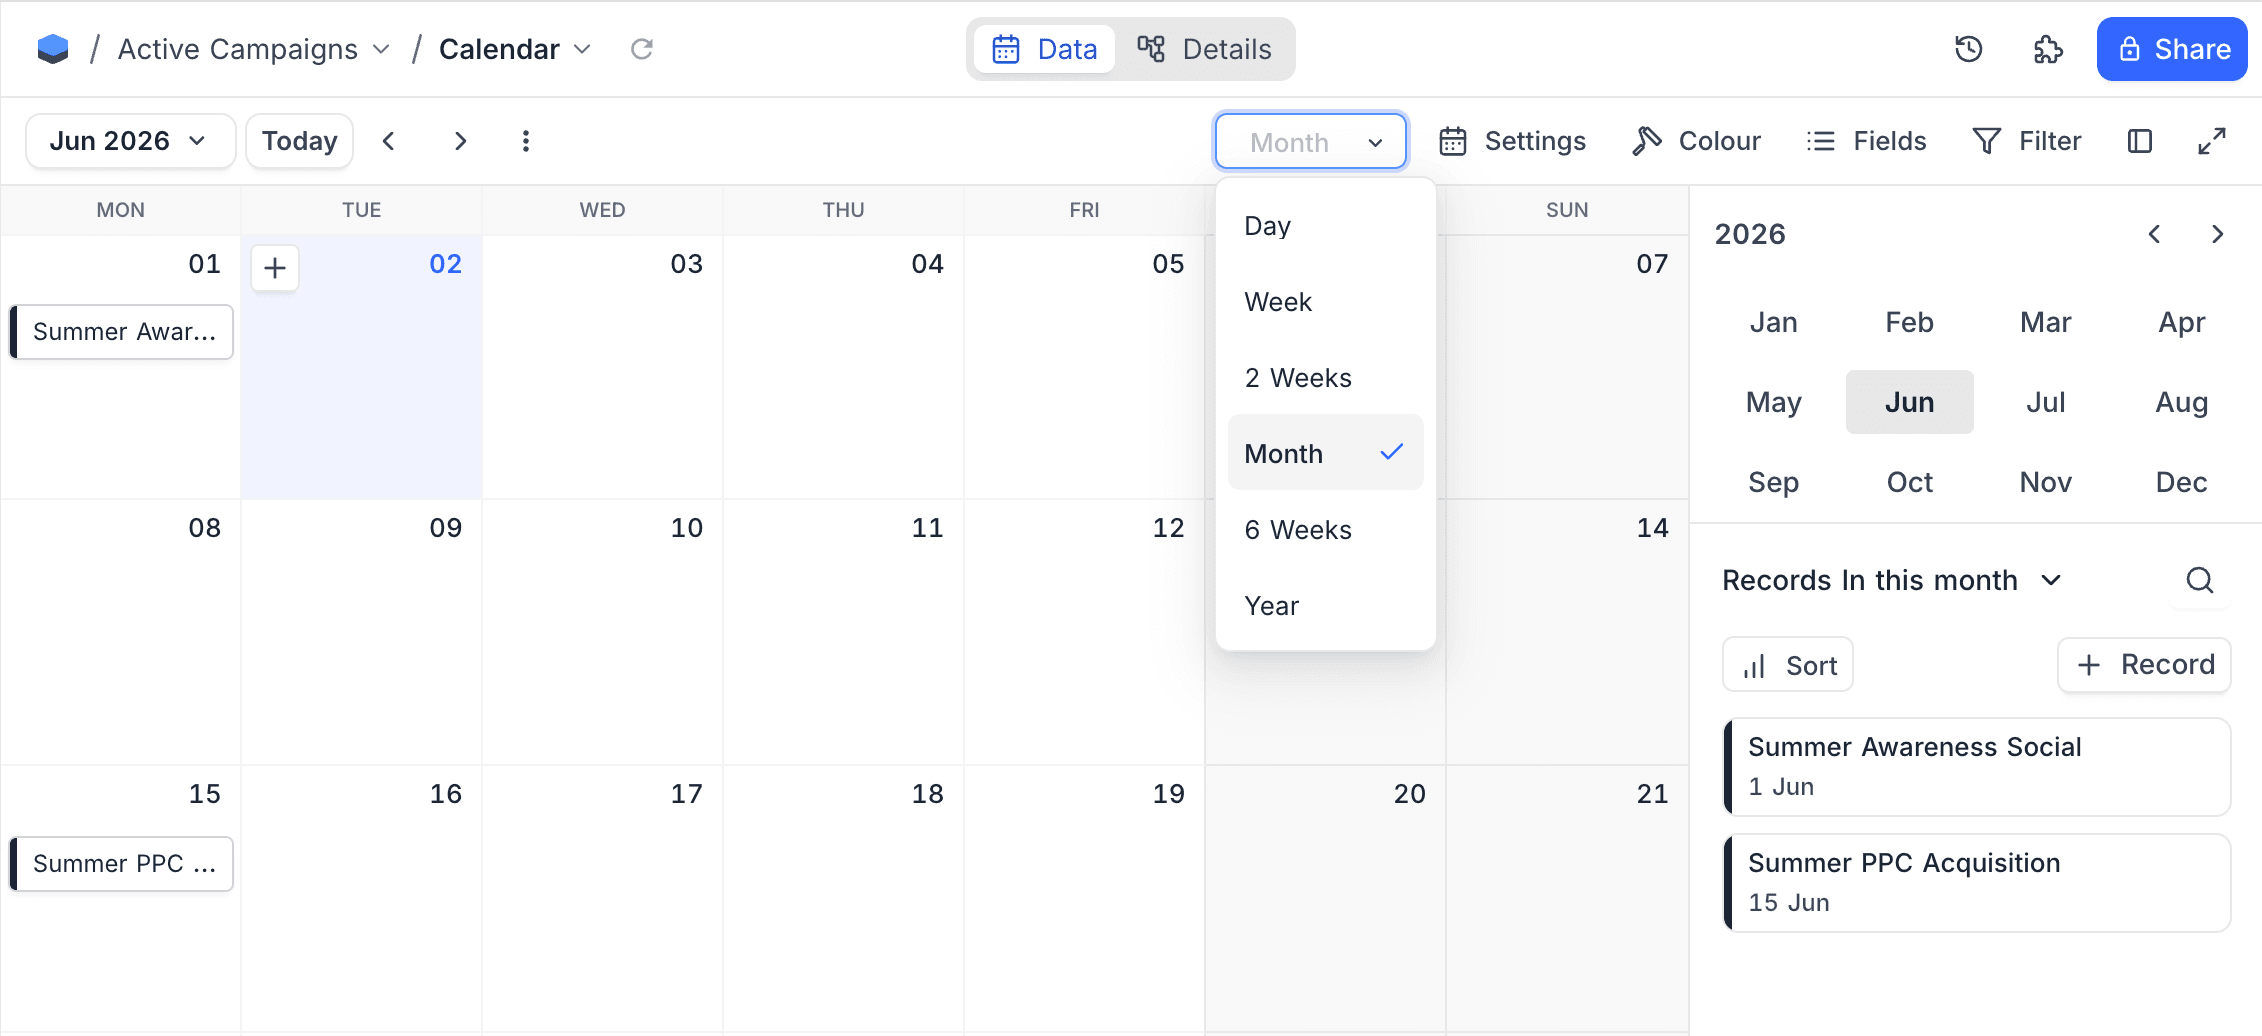
The Calendar view has 8 timescales. Select a timescale from the timescale dropdown in the toolbar.
Day
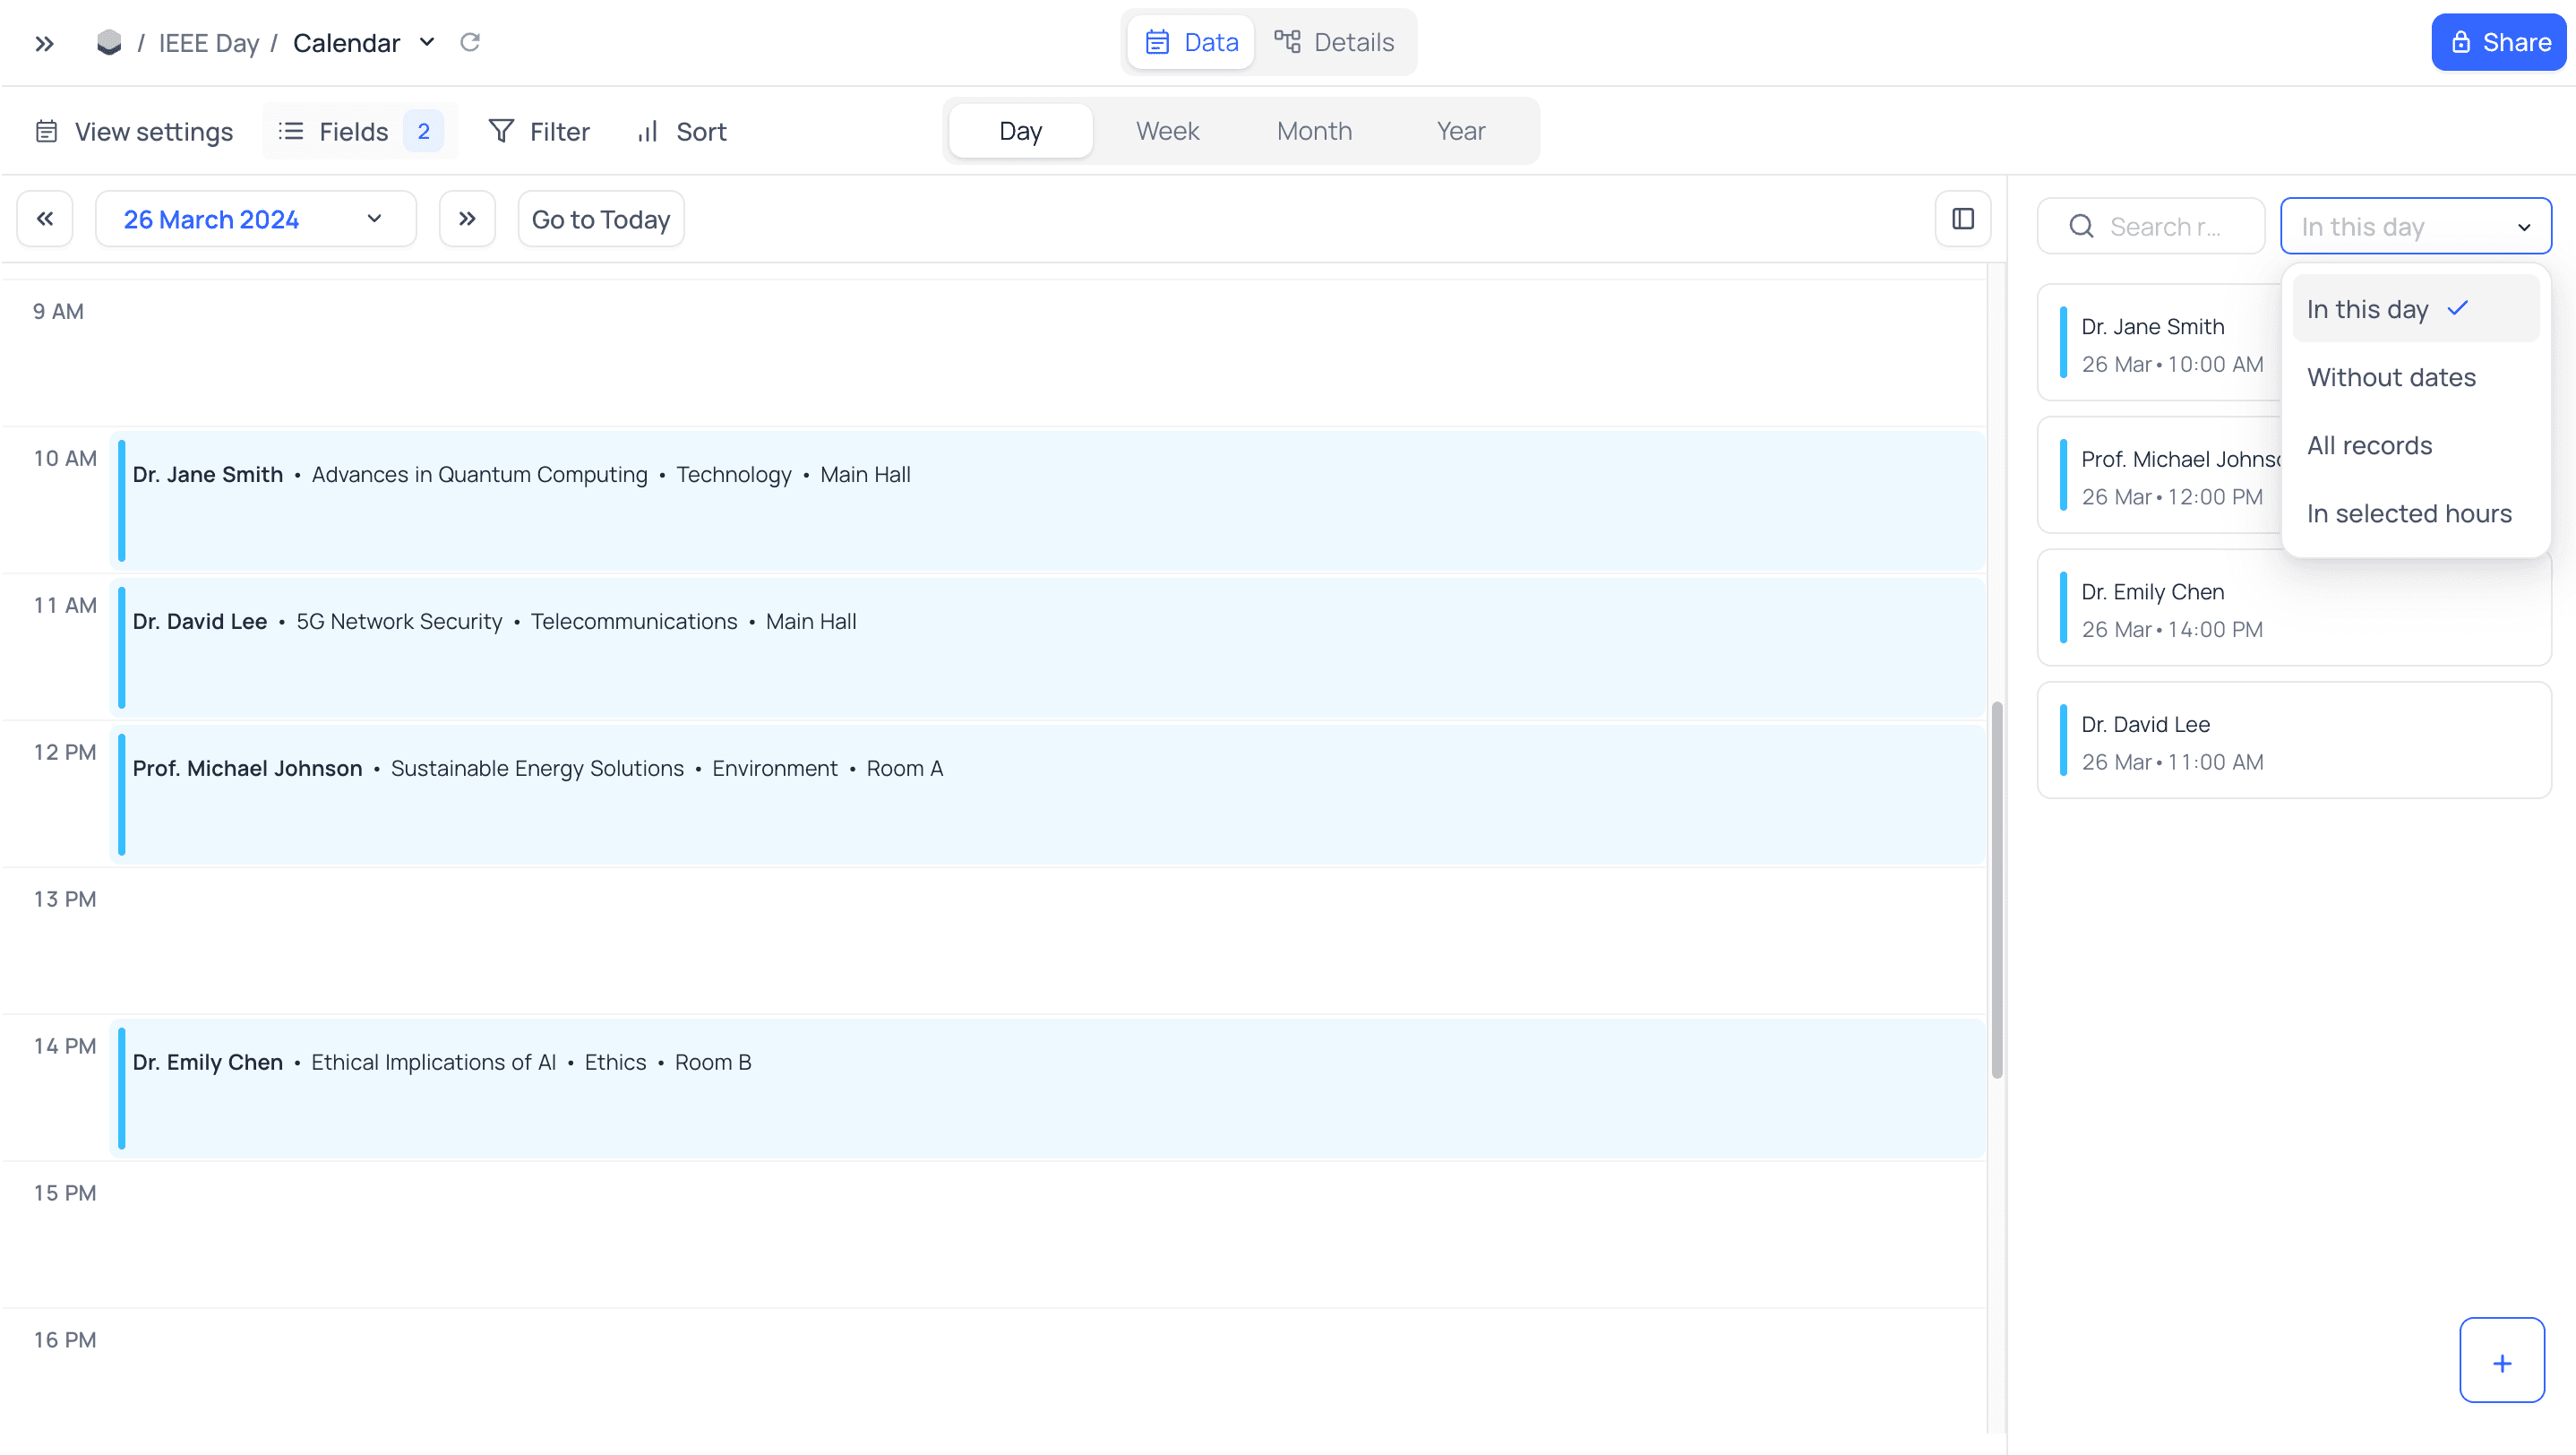
The day view shows the records for one day. For records with DateTime fields, drag a record to a different timeslot in the day.
3 Days
The 3 days view shows the records for three days in one frame. This layout is between Day and Week. The view sorts the records by their scheduled time. To reschedule a record, drag it to a different day. For records with DateTime fields, you can also drag a record to a different timeslot.
Week
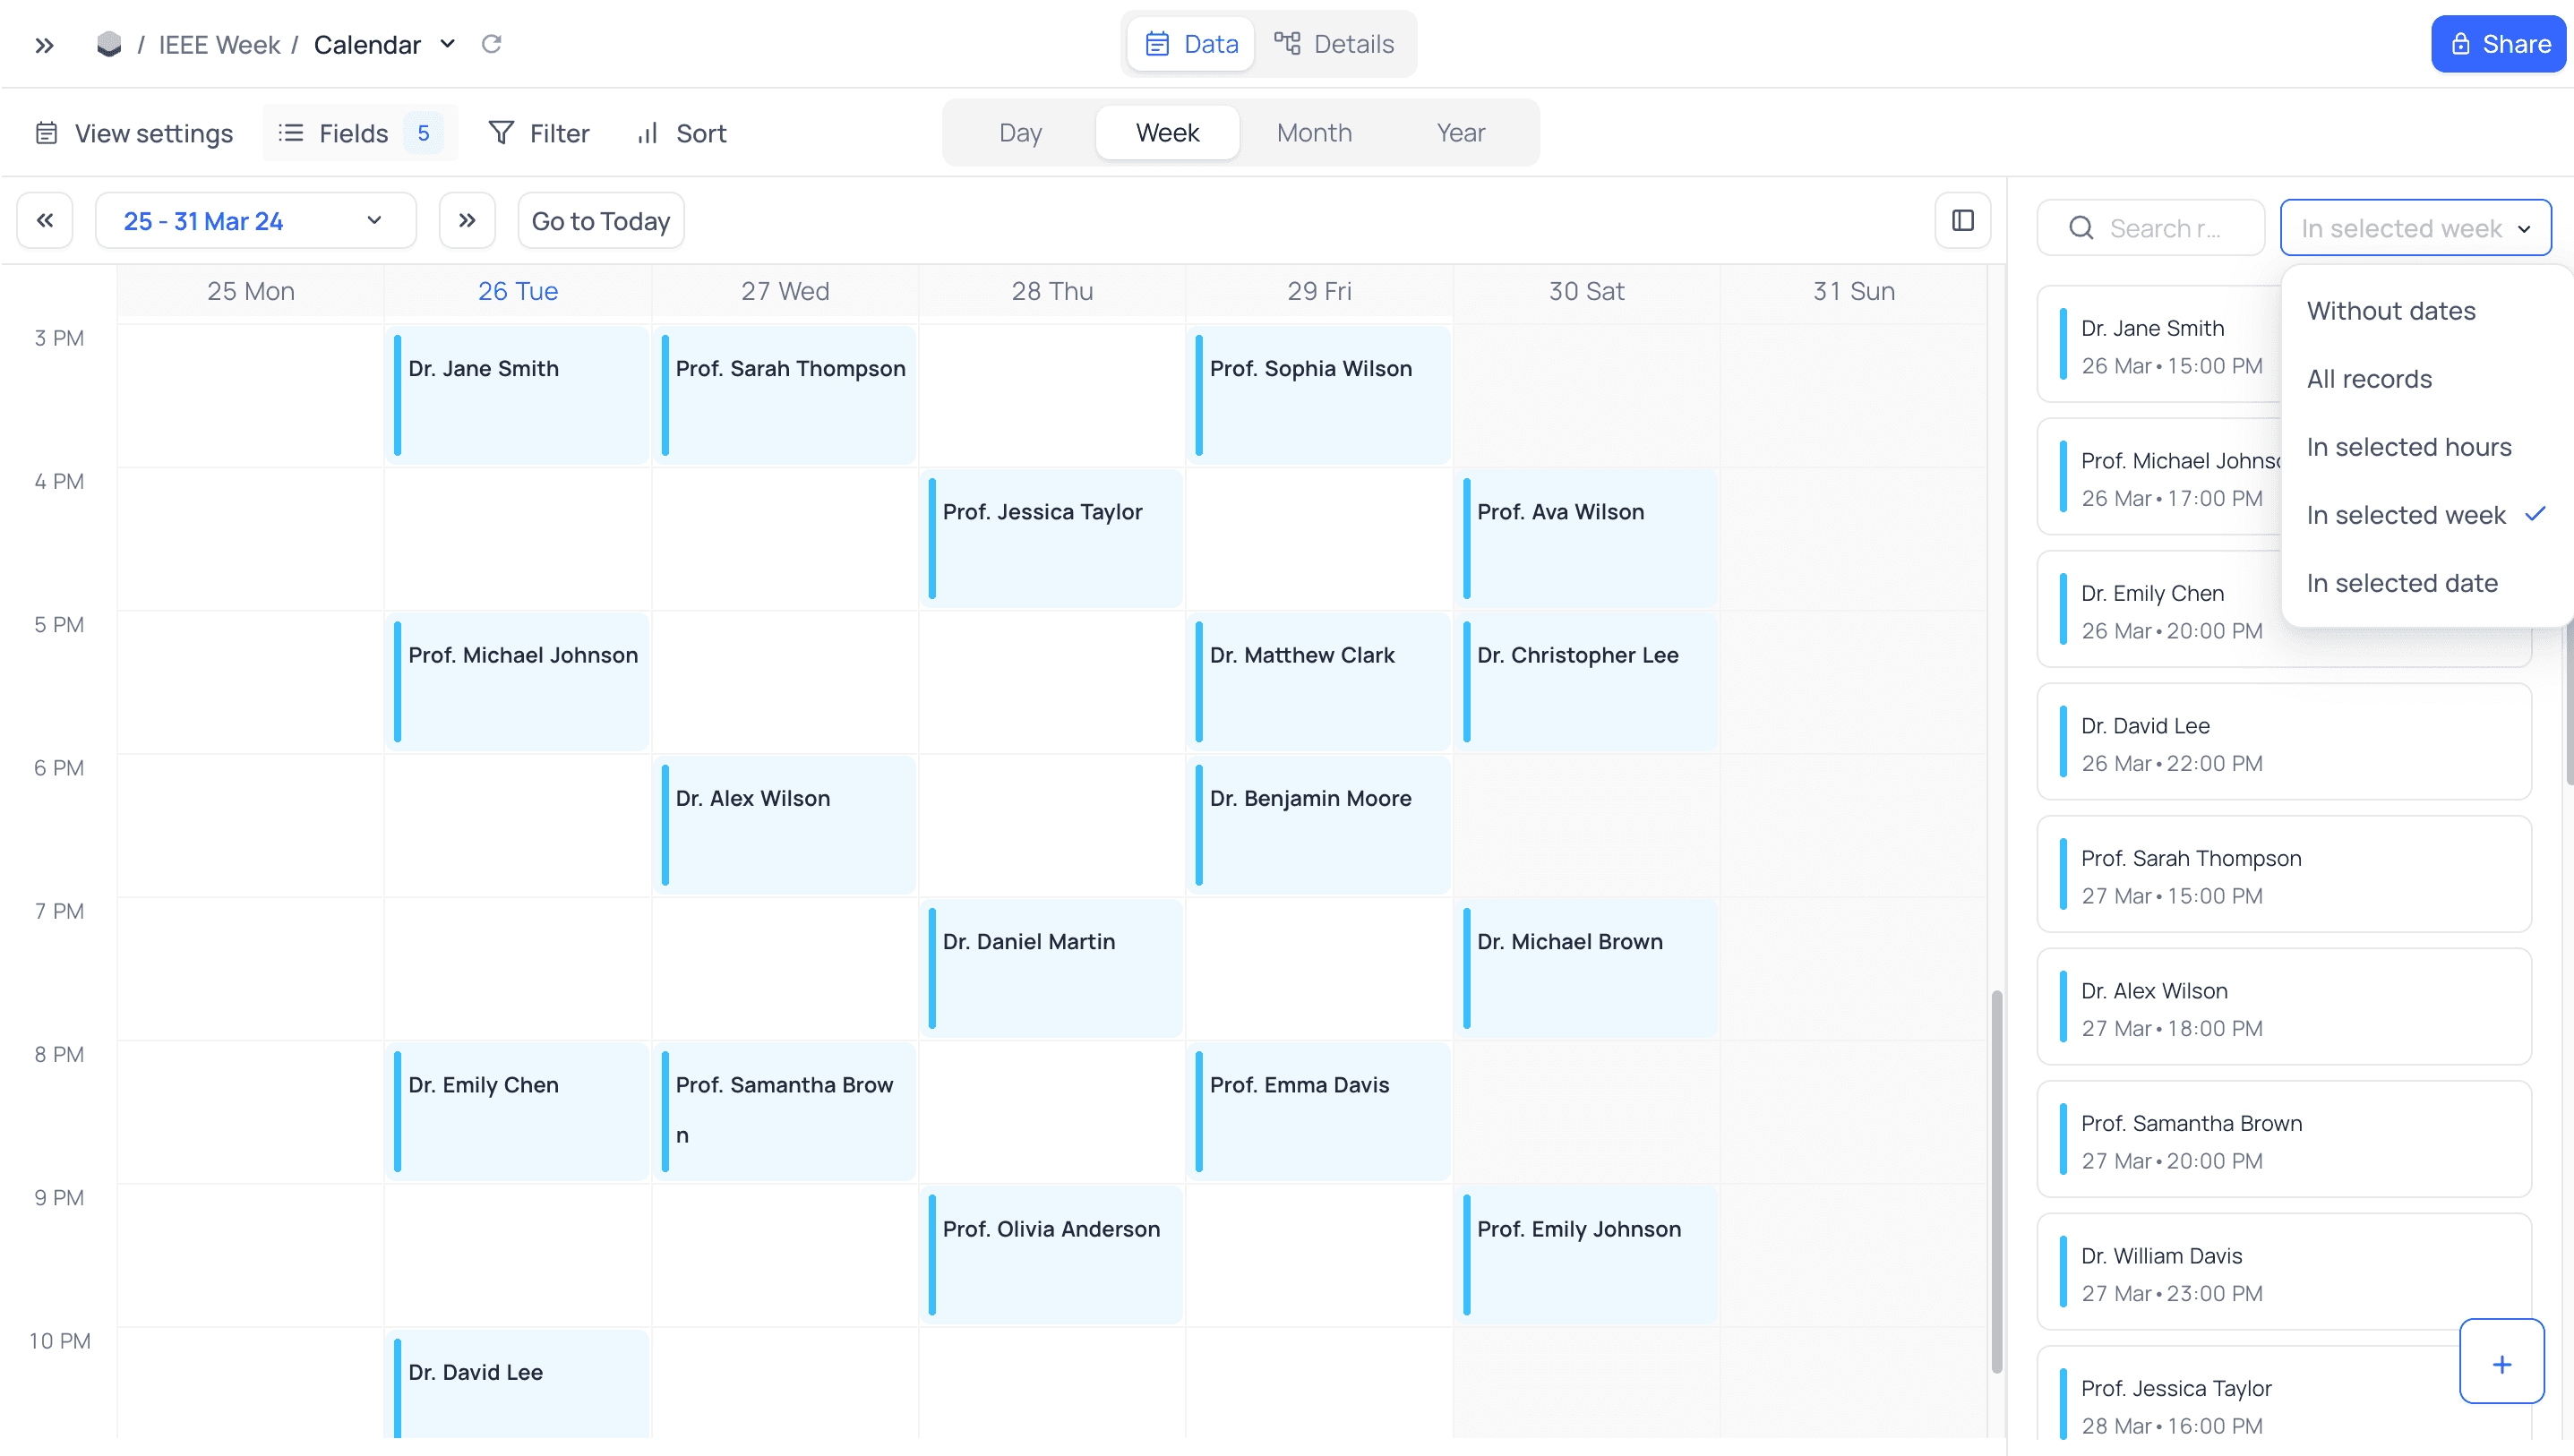
The week view shows the records for one week. Drag a record to a different day in the week. For records with DateTime fields, drag a record to a different timeslot in the day.
Each record card can show many fields at the same time. For DateTime cards, the hover tooltip shows the field names with their values. If a record has more non-empty visible fields than the card can show, a +N more line shows the number of hidden fields.
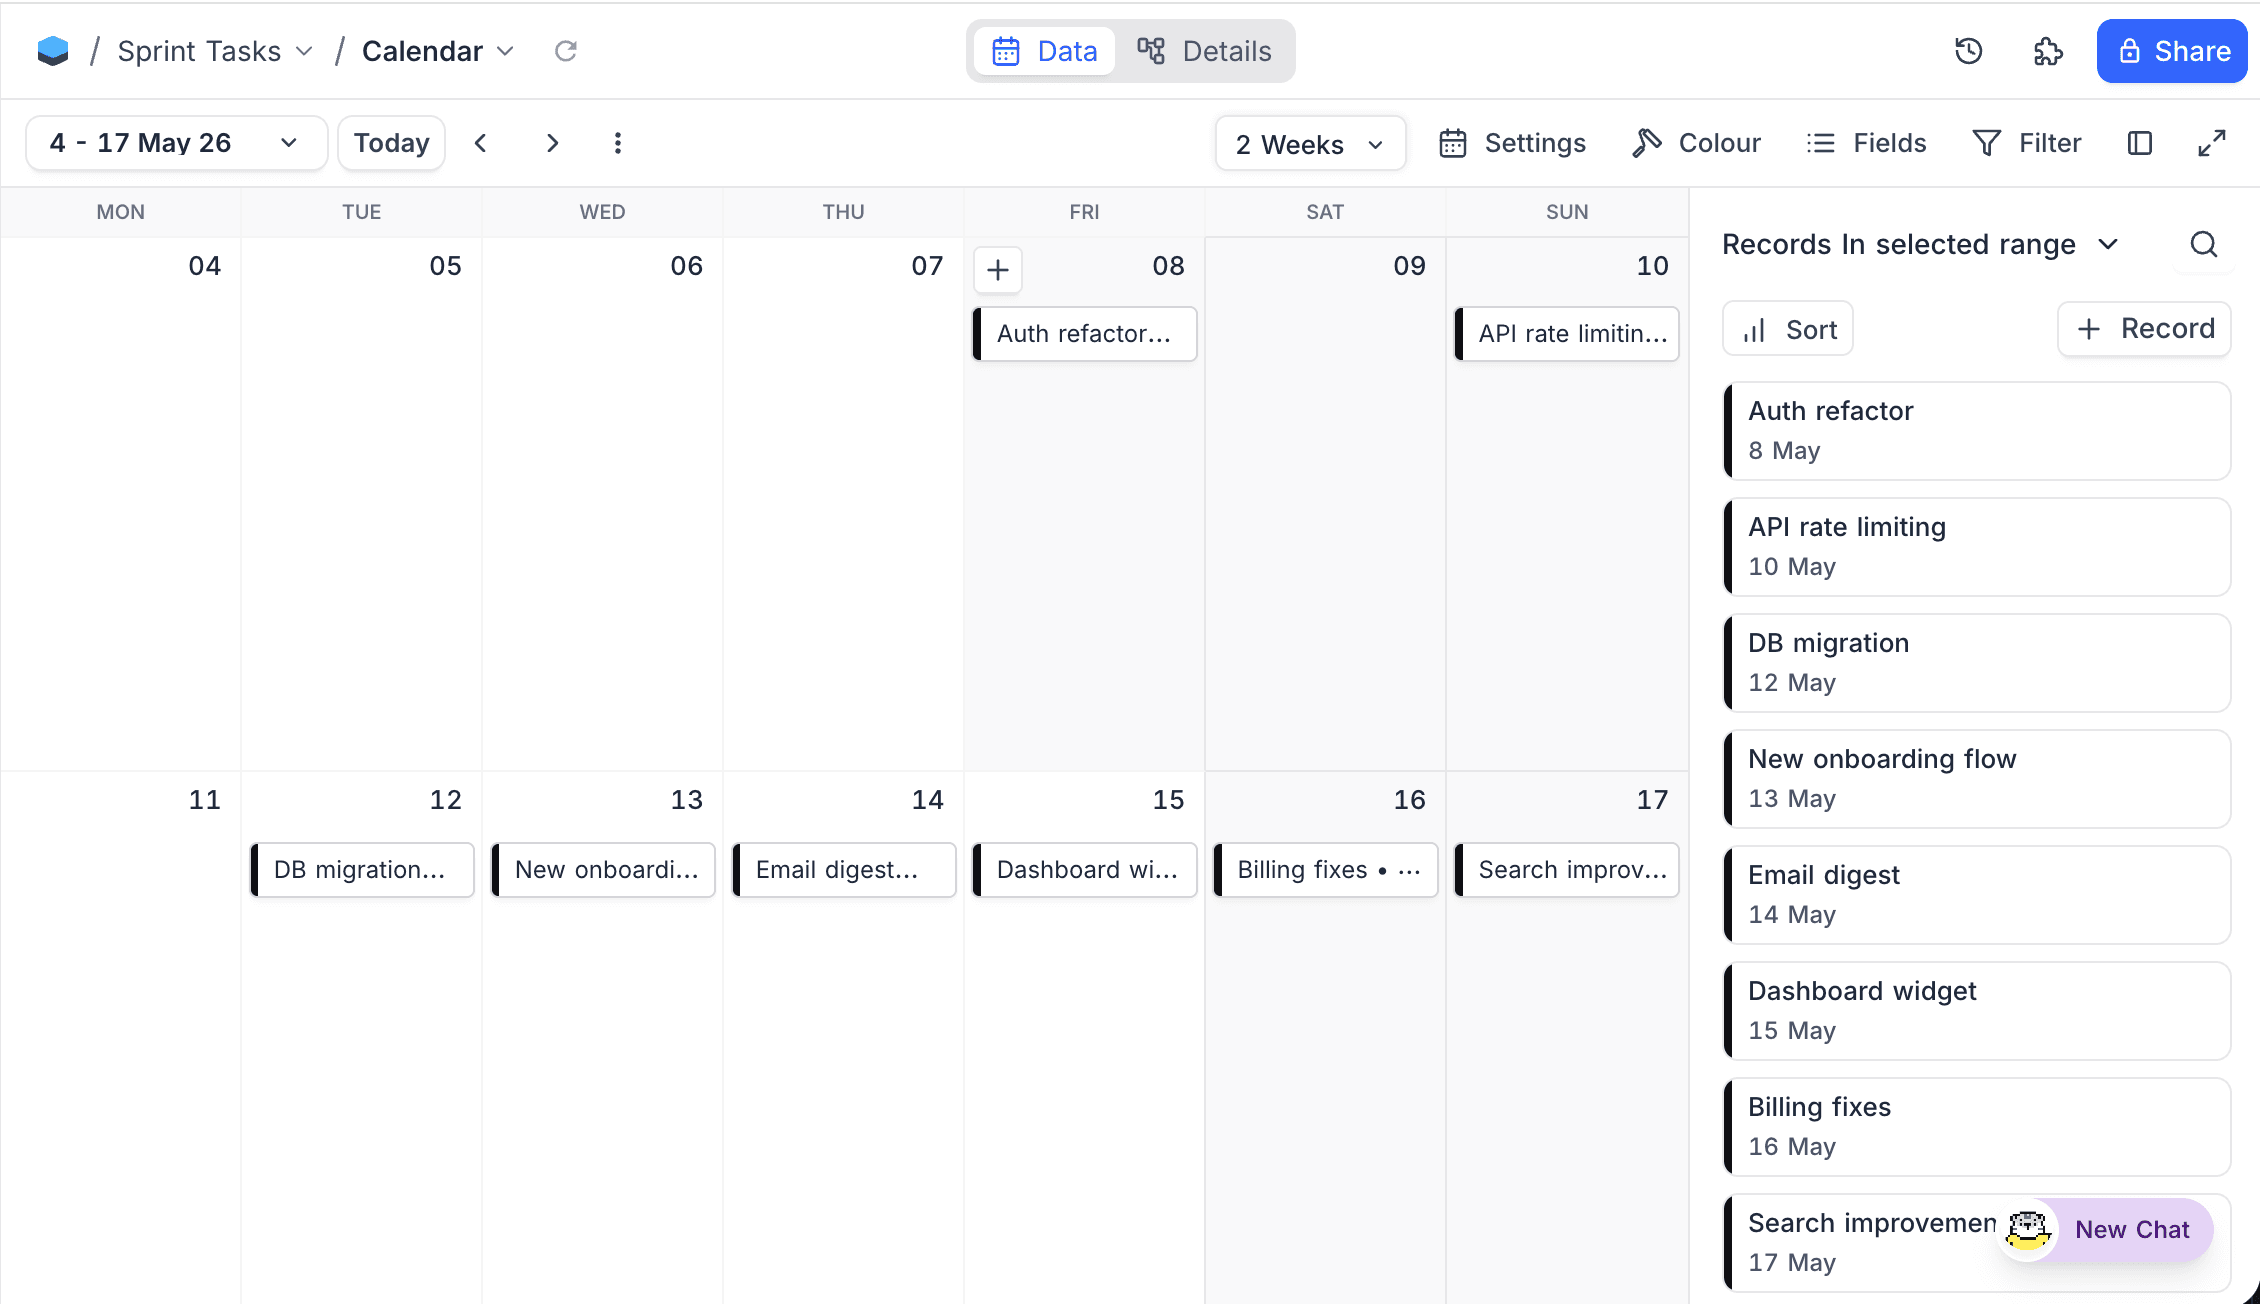
2 Weeks
The 2 weeks view shows the records for two weeks at the same time. Drag a record to a different day in the span.
Month
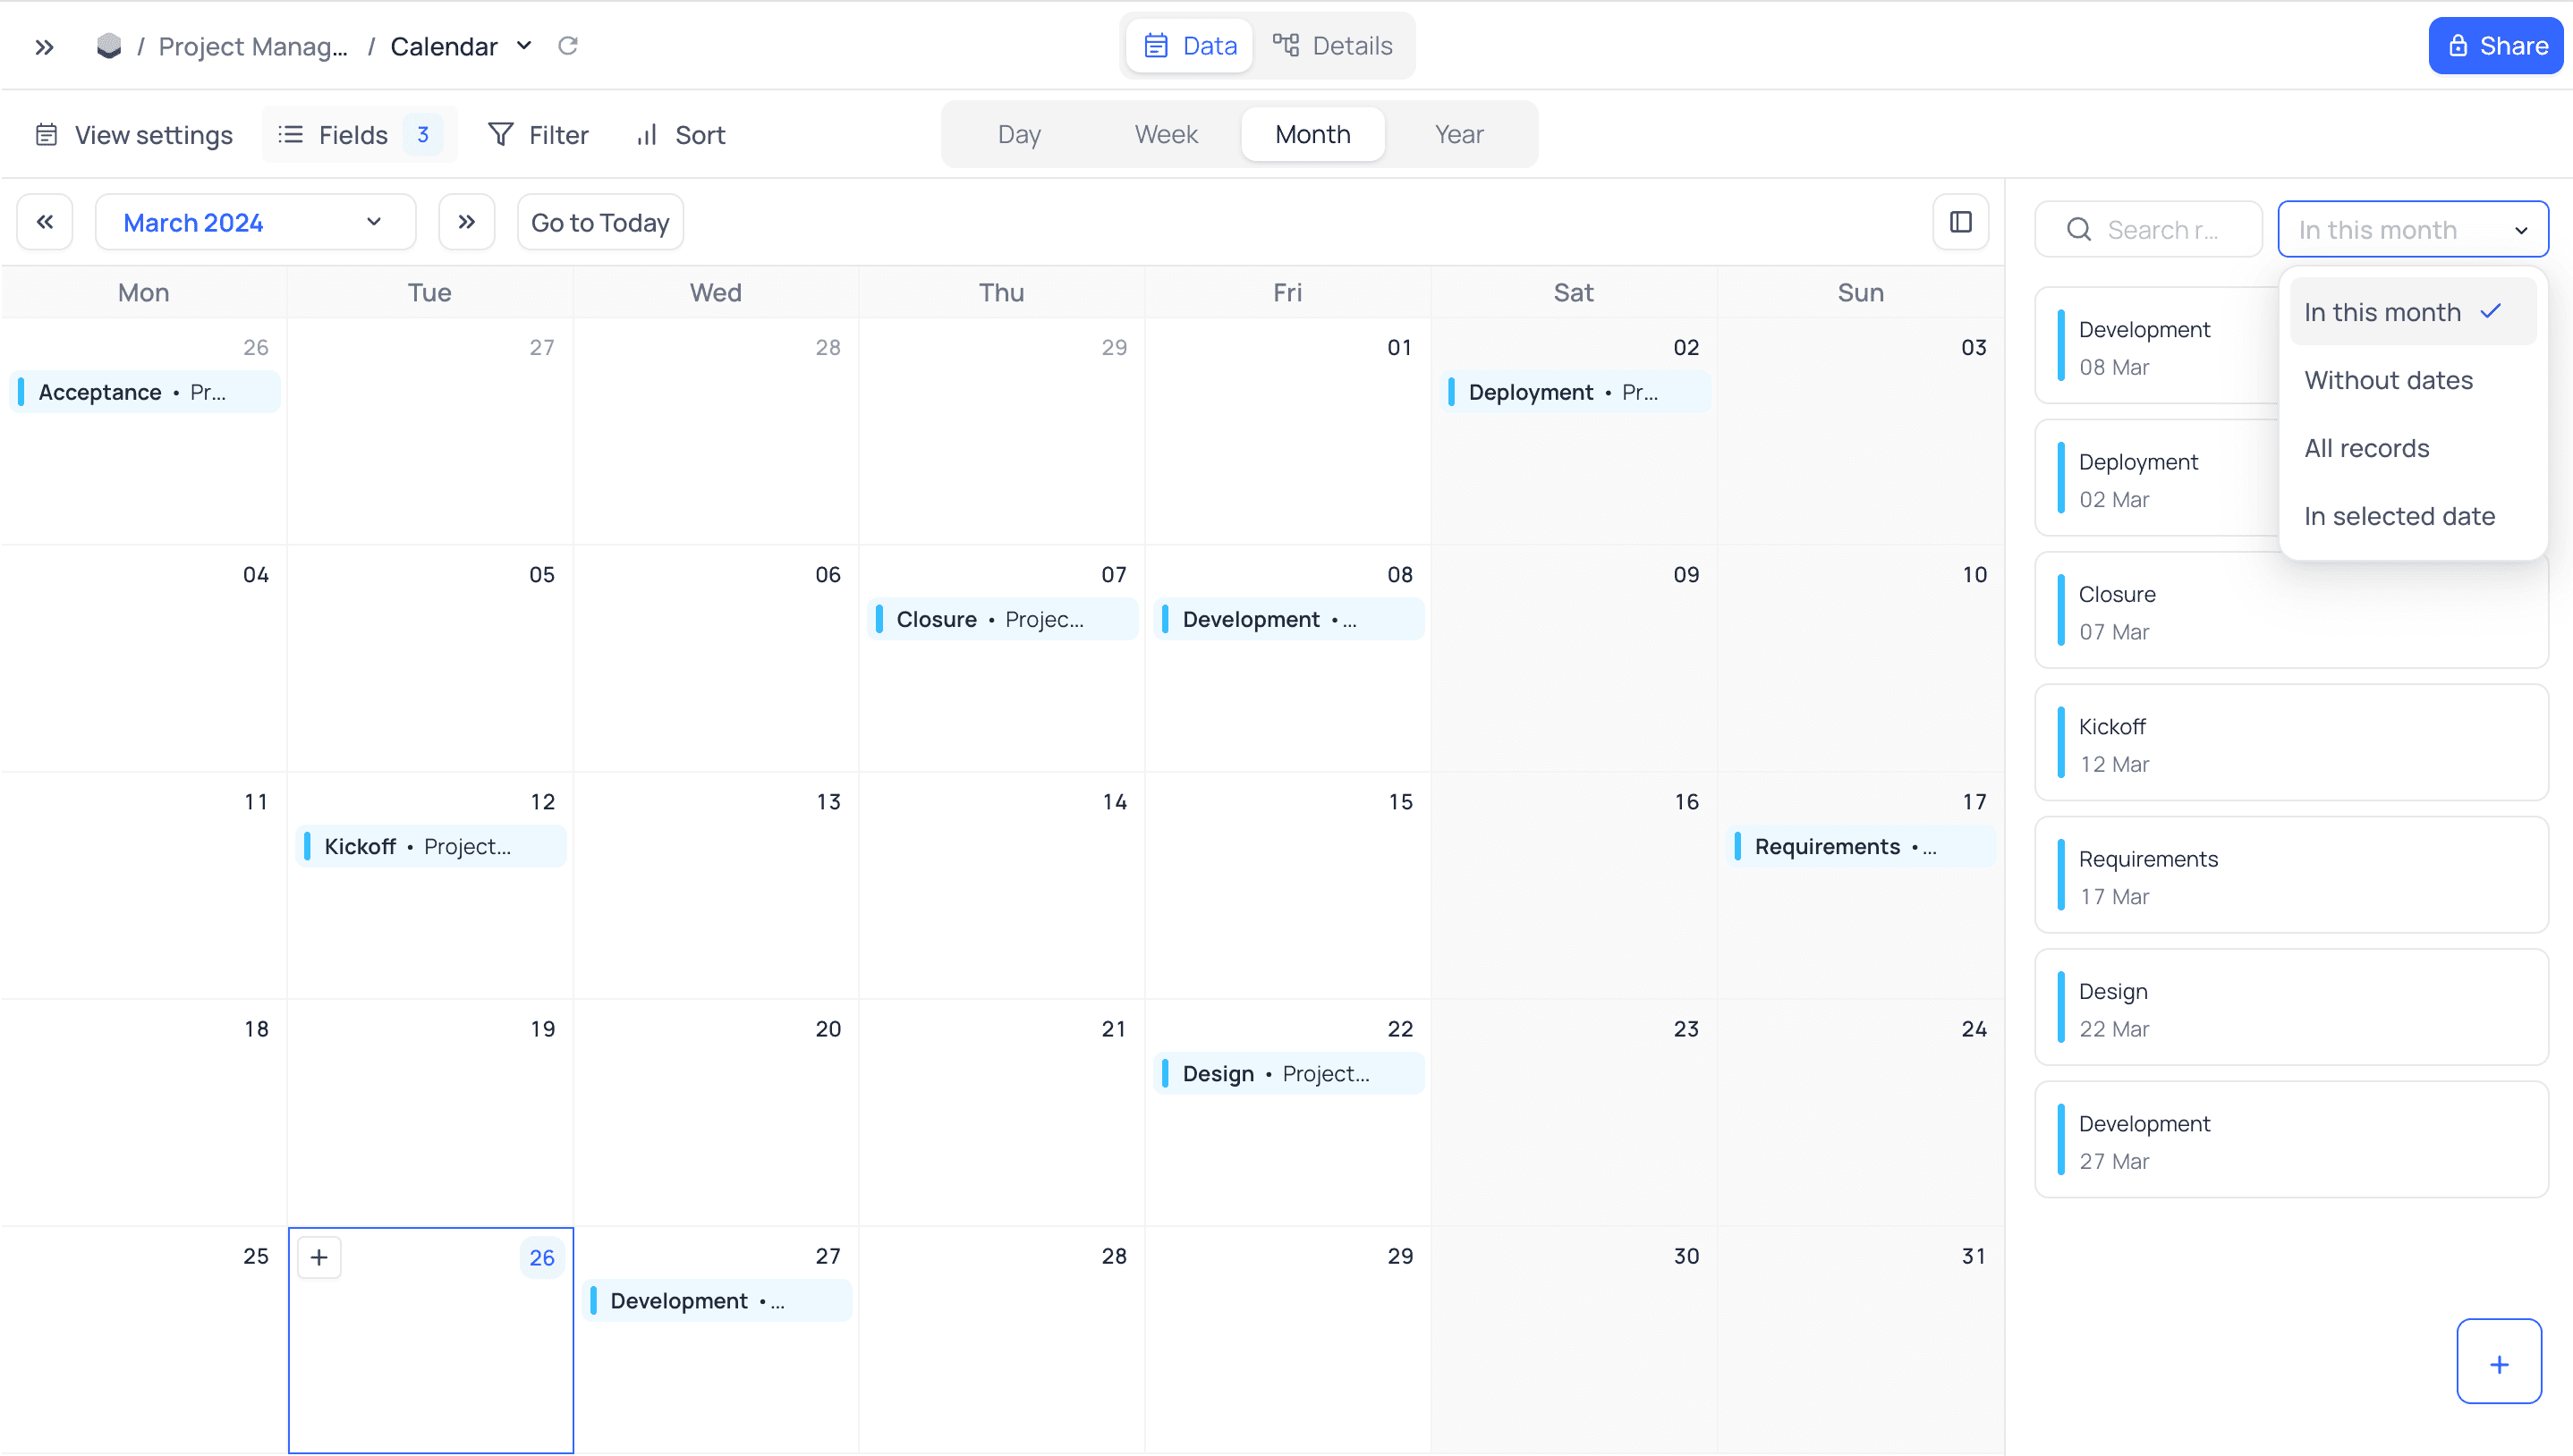
The month view shows the records for a full month. Drag a record to a different day in the month.
6 Weeks
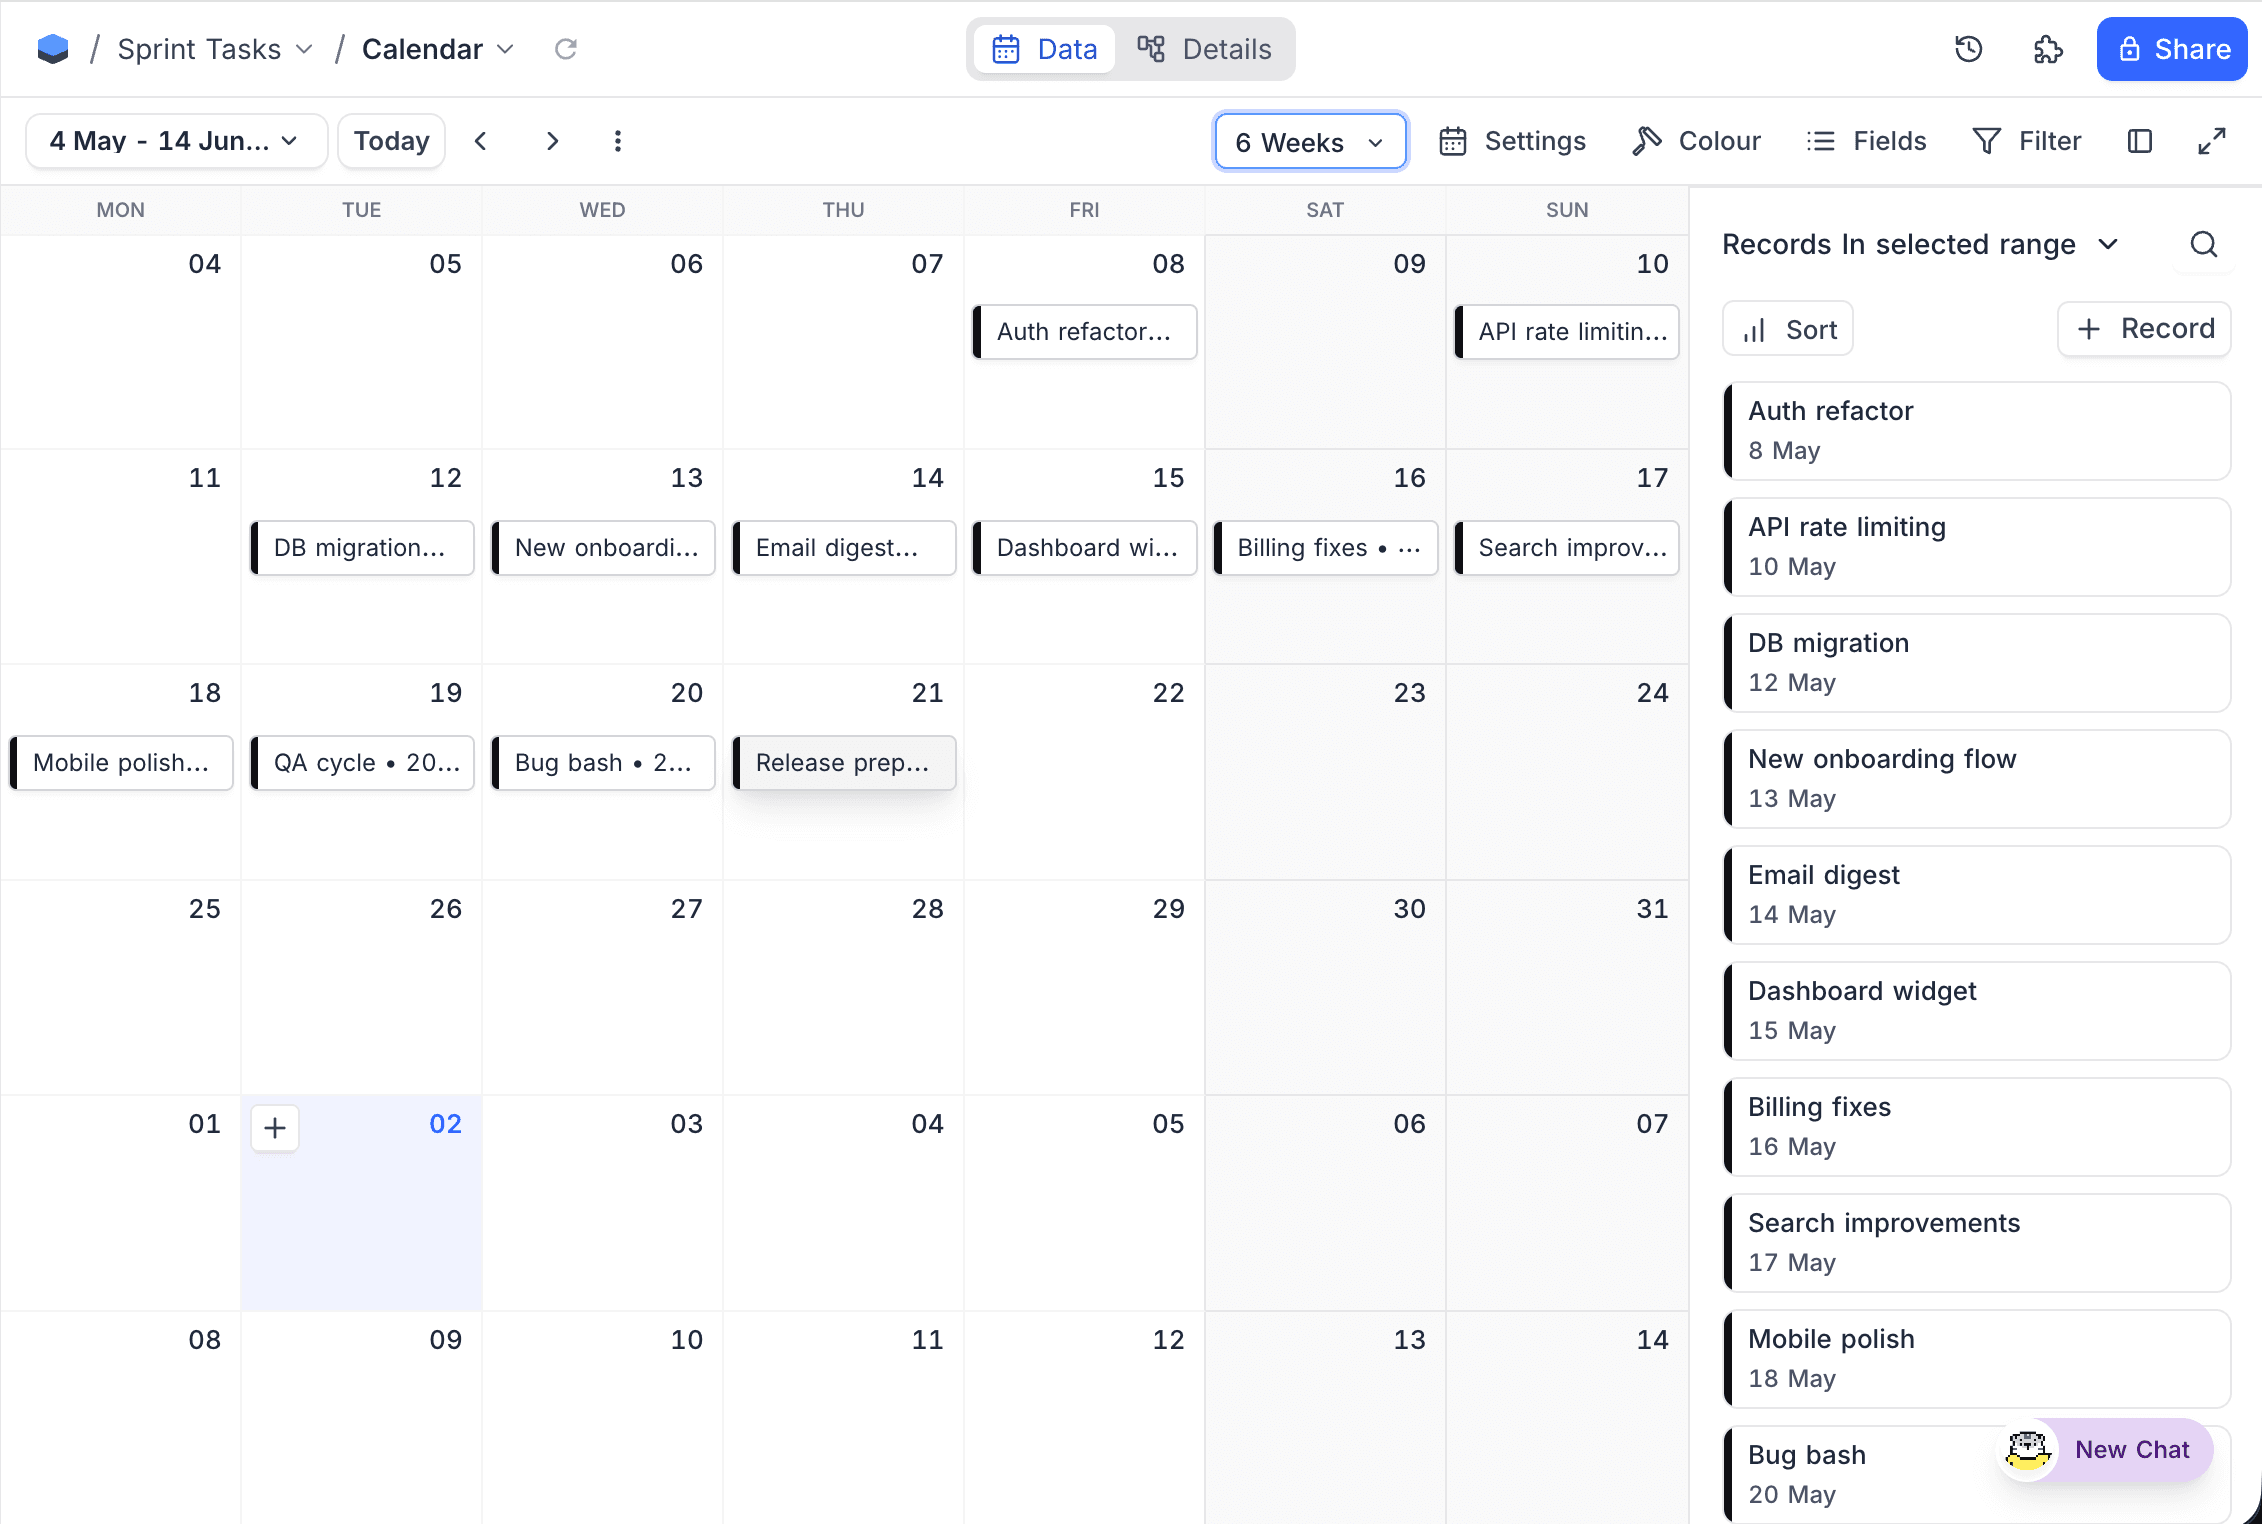
The 6 weeks view shows the records for six weeks. Use it to plan for more than one month. Drag a record to a different day in the span.
Year
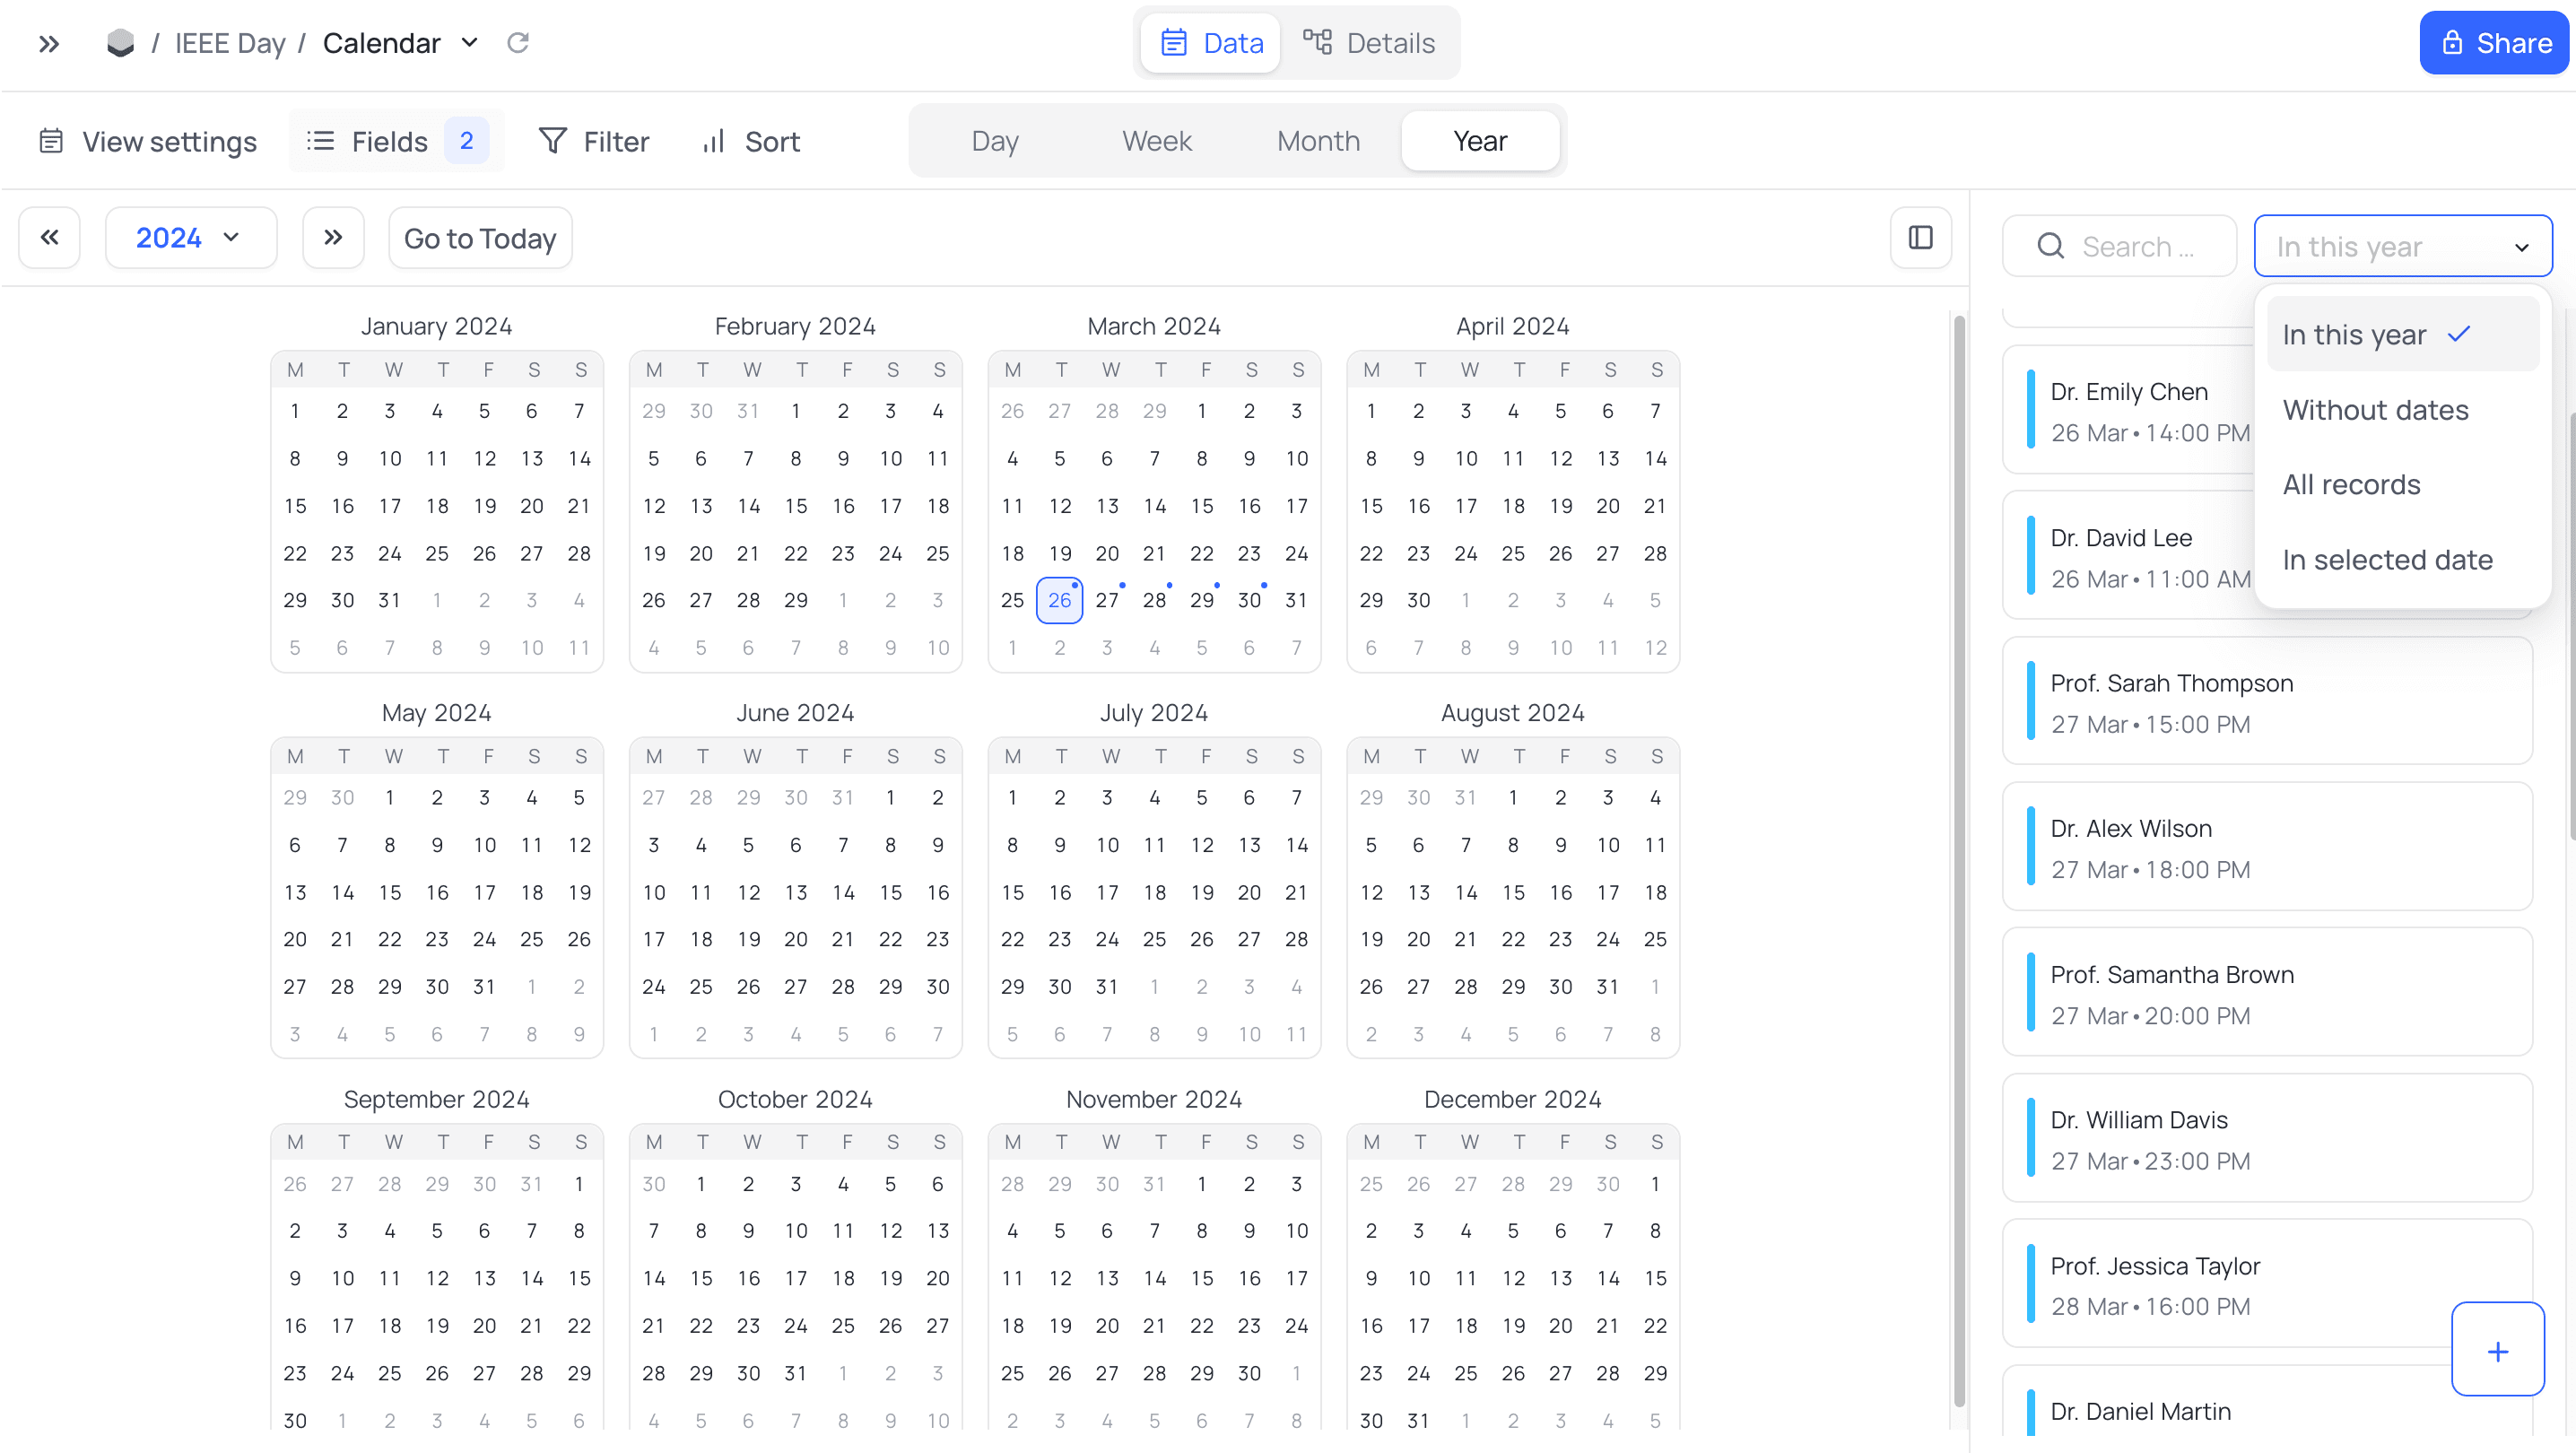
The year view gives an overview of the records for the full year. A blue badge on a date shows that the date has records. Click a date to see the records for that date.
Custom
The Custom timescale lets you set your own span instead of a fixed option.
- Open the timescale dropdown.
- Click
Custom…. - In the Timescale config, enter a count from 1 to 6.
- Select the unit: Days or Weeks.
- Click
Set. The dropdown trigger shows your span, for example2 Daysor3 Weeks.
The view keeps your custom span.
When the unit is Weeks, you can use the weekend display options (Show, Collapse, Hide weekends) given below. These options are the same as in the timescales of one week or longer.
Weekend Display
In the timescales of one week or longer (Week, 2 Weeks, Month, 6 Weeks), the view-mode dropdown has three options for weekends:
| Option | Result |
|---|---|
| Show weekends | Saturday and Sunday show at full width, the same as weekdays. |
| Collapse weekends | Saturday and Sunday show narrow and merged. They use less horizontal space but stay visible. |
| Hide weekends | The calendar does not show Saturday and Sunday. |
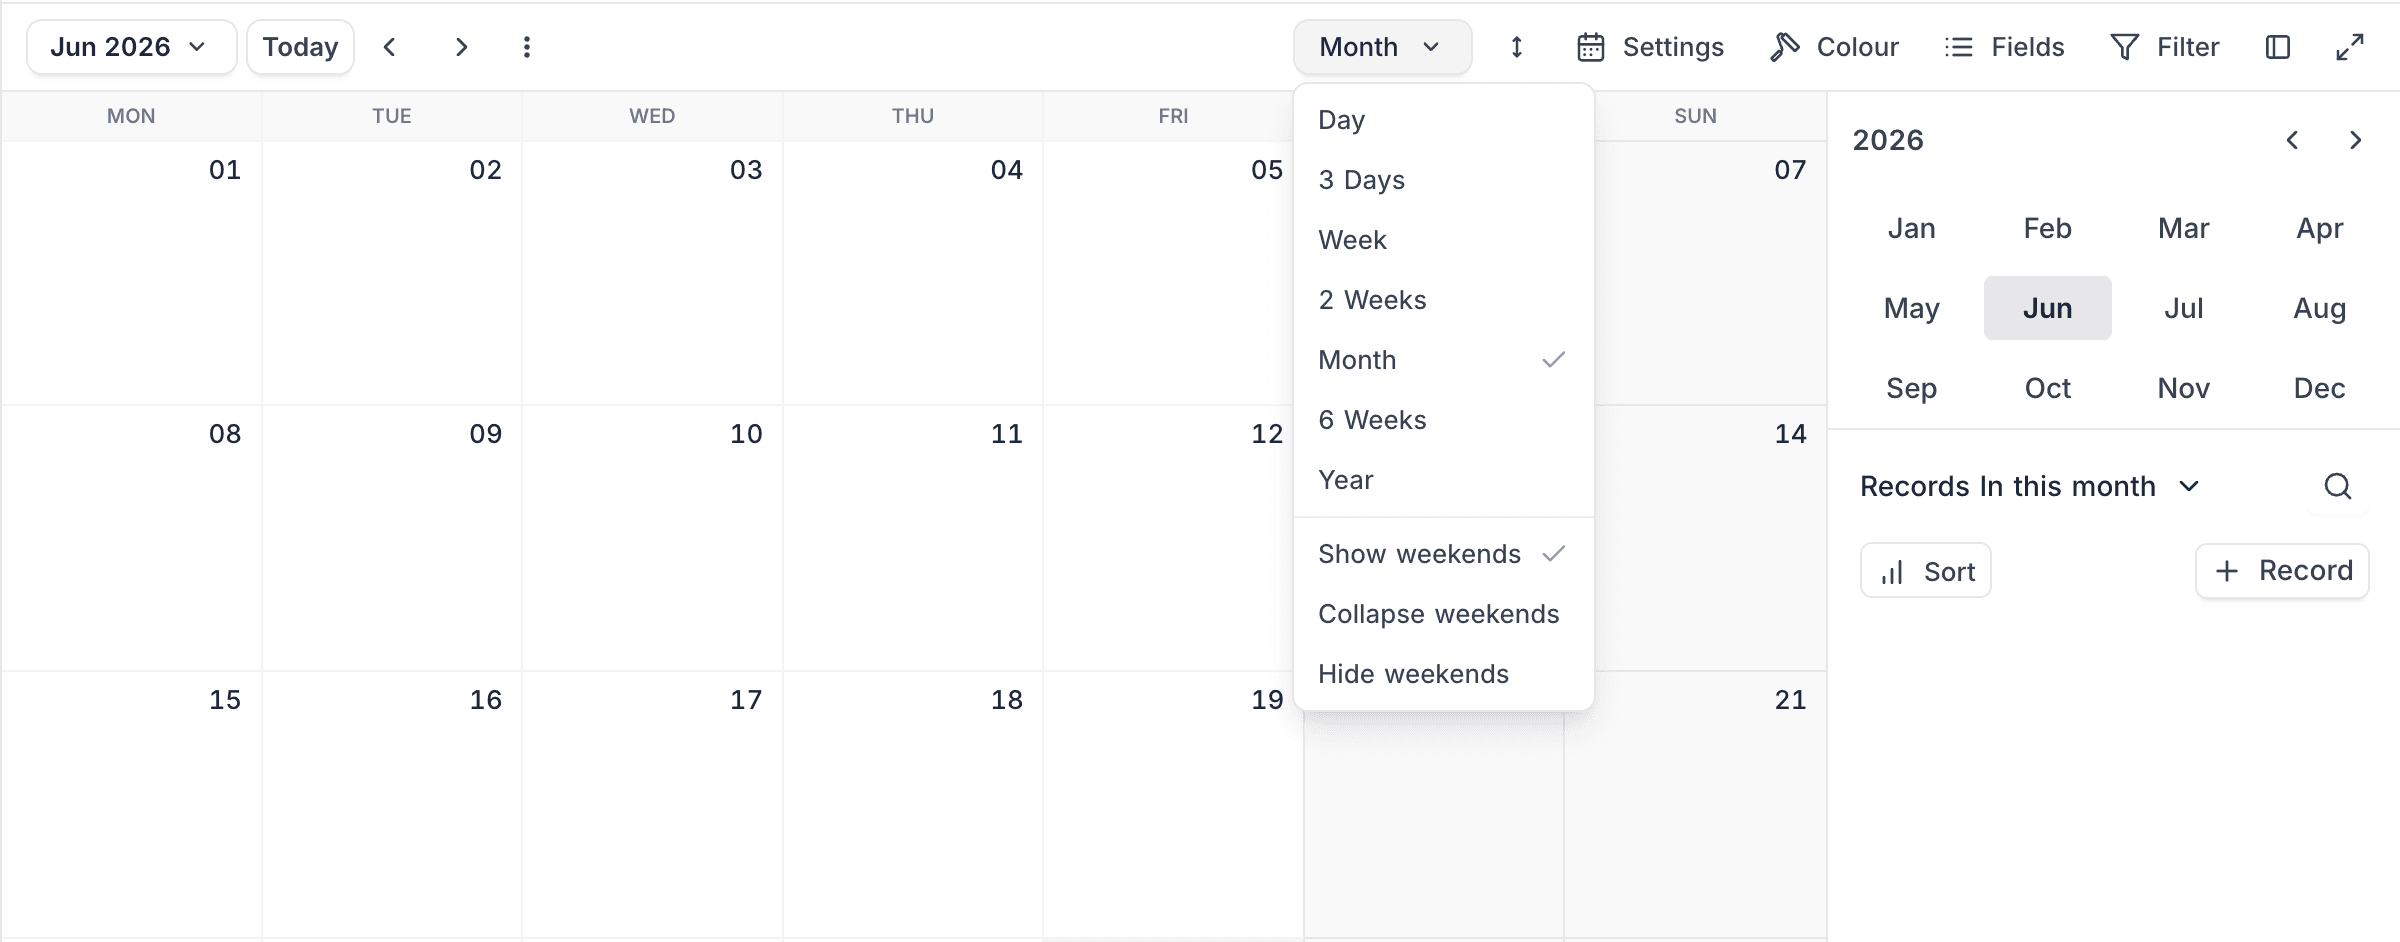
When you select Collapse weekends, the Saturday and Sunday columns are narrow but stay visible:
Record Height
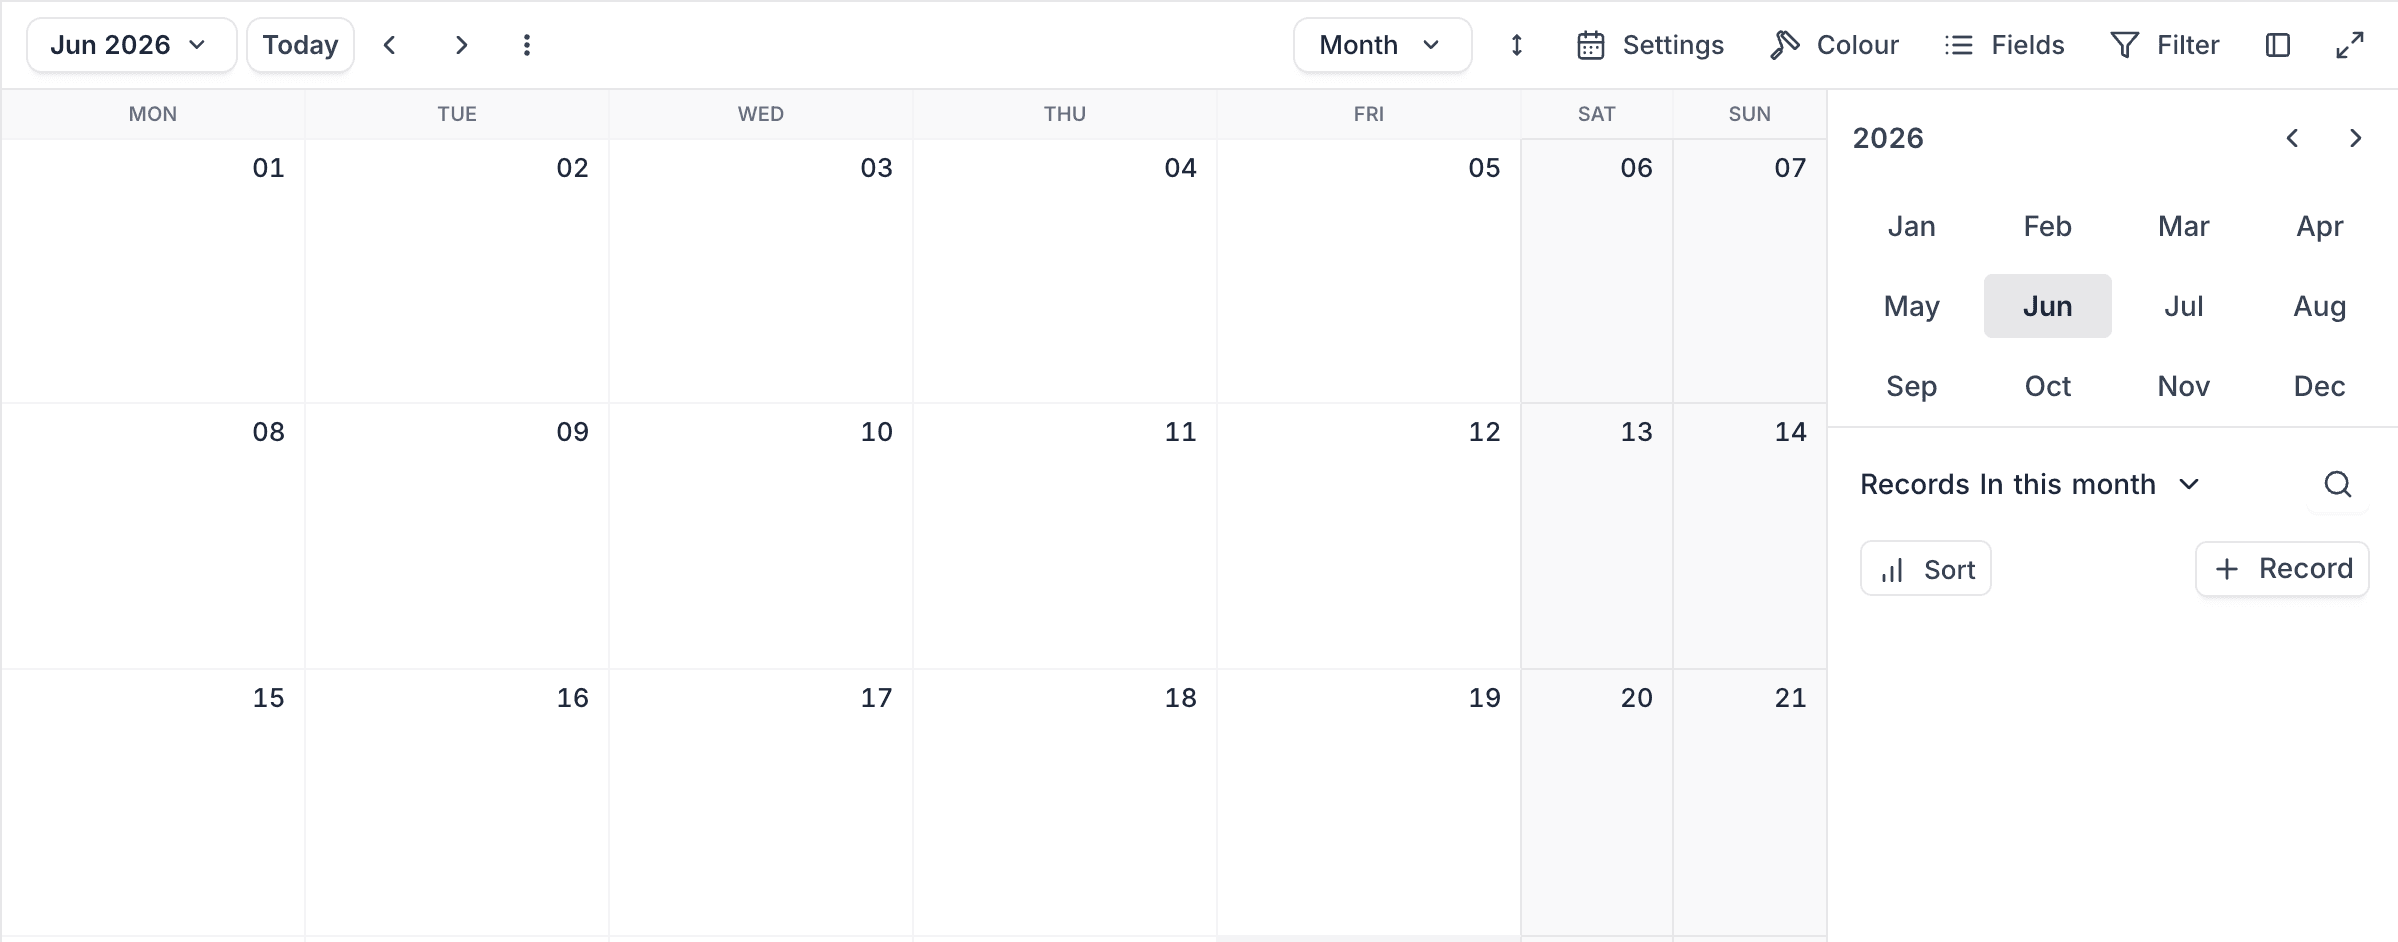
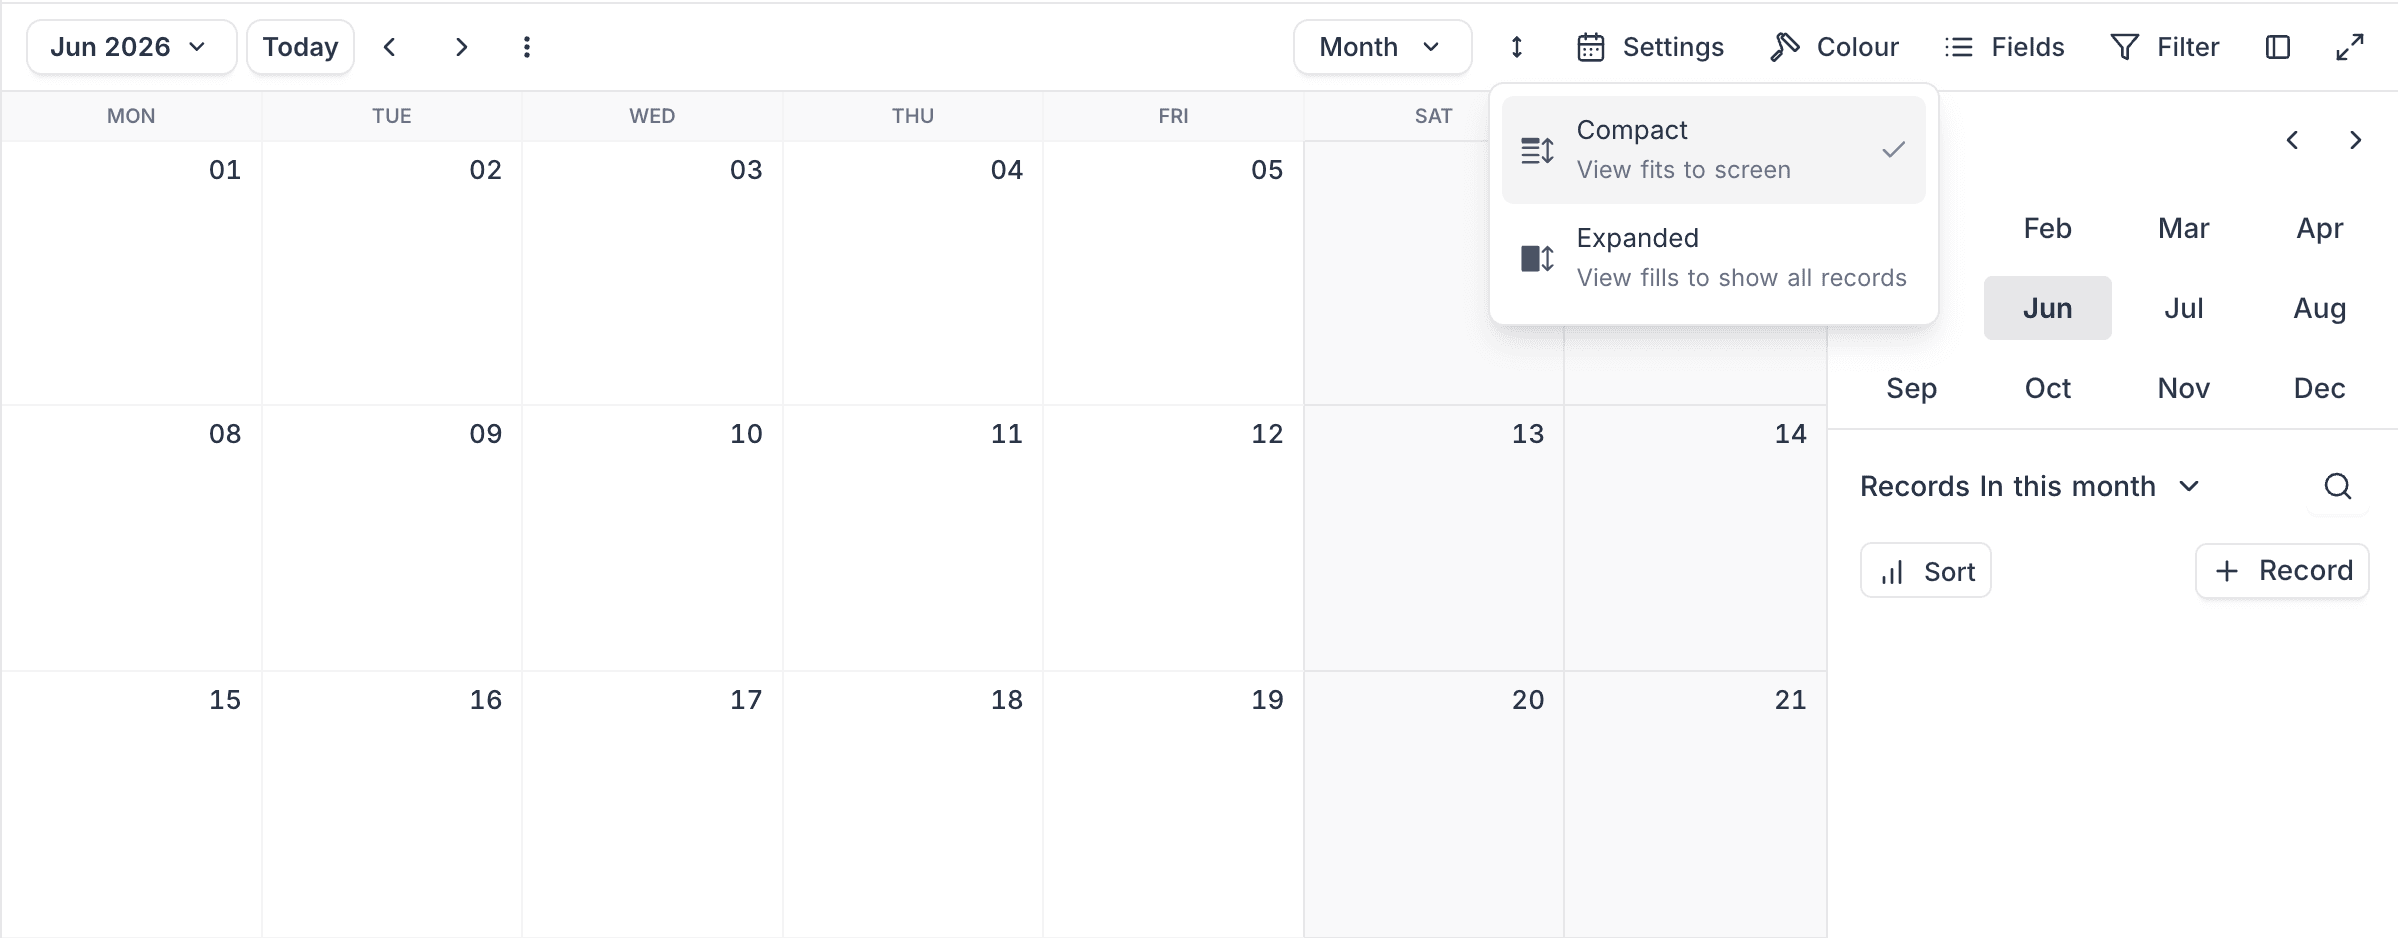
Use the Record Height control in the toolbar to set the vertical space of the records. This control is the same as the Record Height control in Grid view.
The control is always available in the 2 Weeks, Month, and 6 Weeks timescales. In the 3 Days and Week timescales, the control shows only when the start field is a Date field.
| Option | Result |
|---|---|
| Compact (View fits to screen) | The default. The calendar fits in the screen height. In month view, the records that do not fit go into a +N more popover. In week view, scroll the cell to see more records. |
| Expanded (View fills to show all records) | The cells grow to show all records. Scroll the calendar body vertically as necessary. |
Event Themes
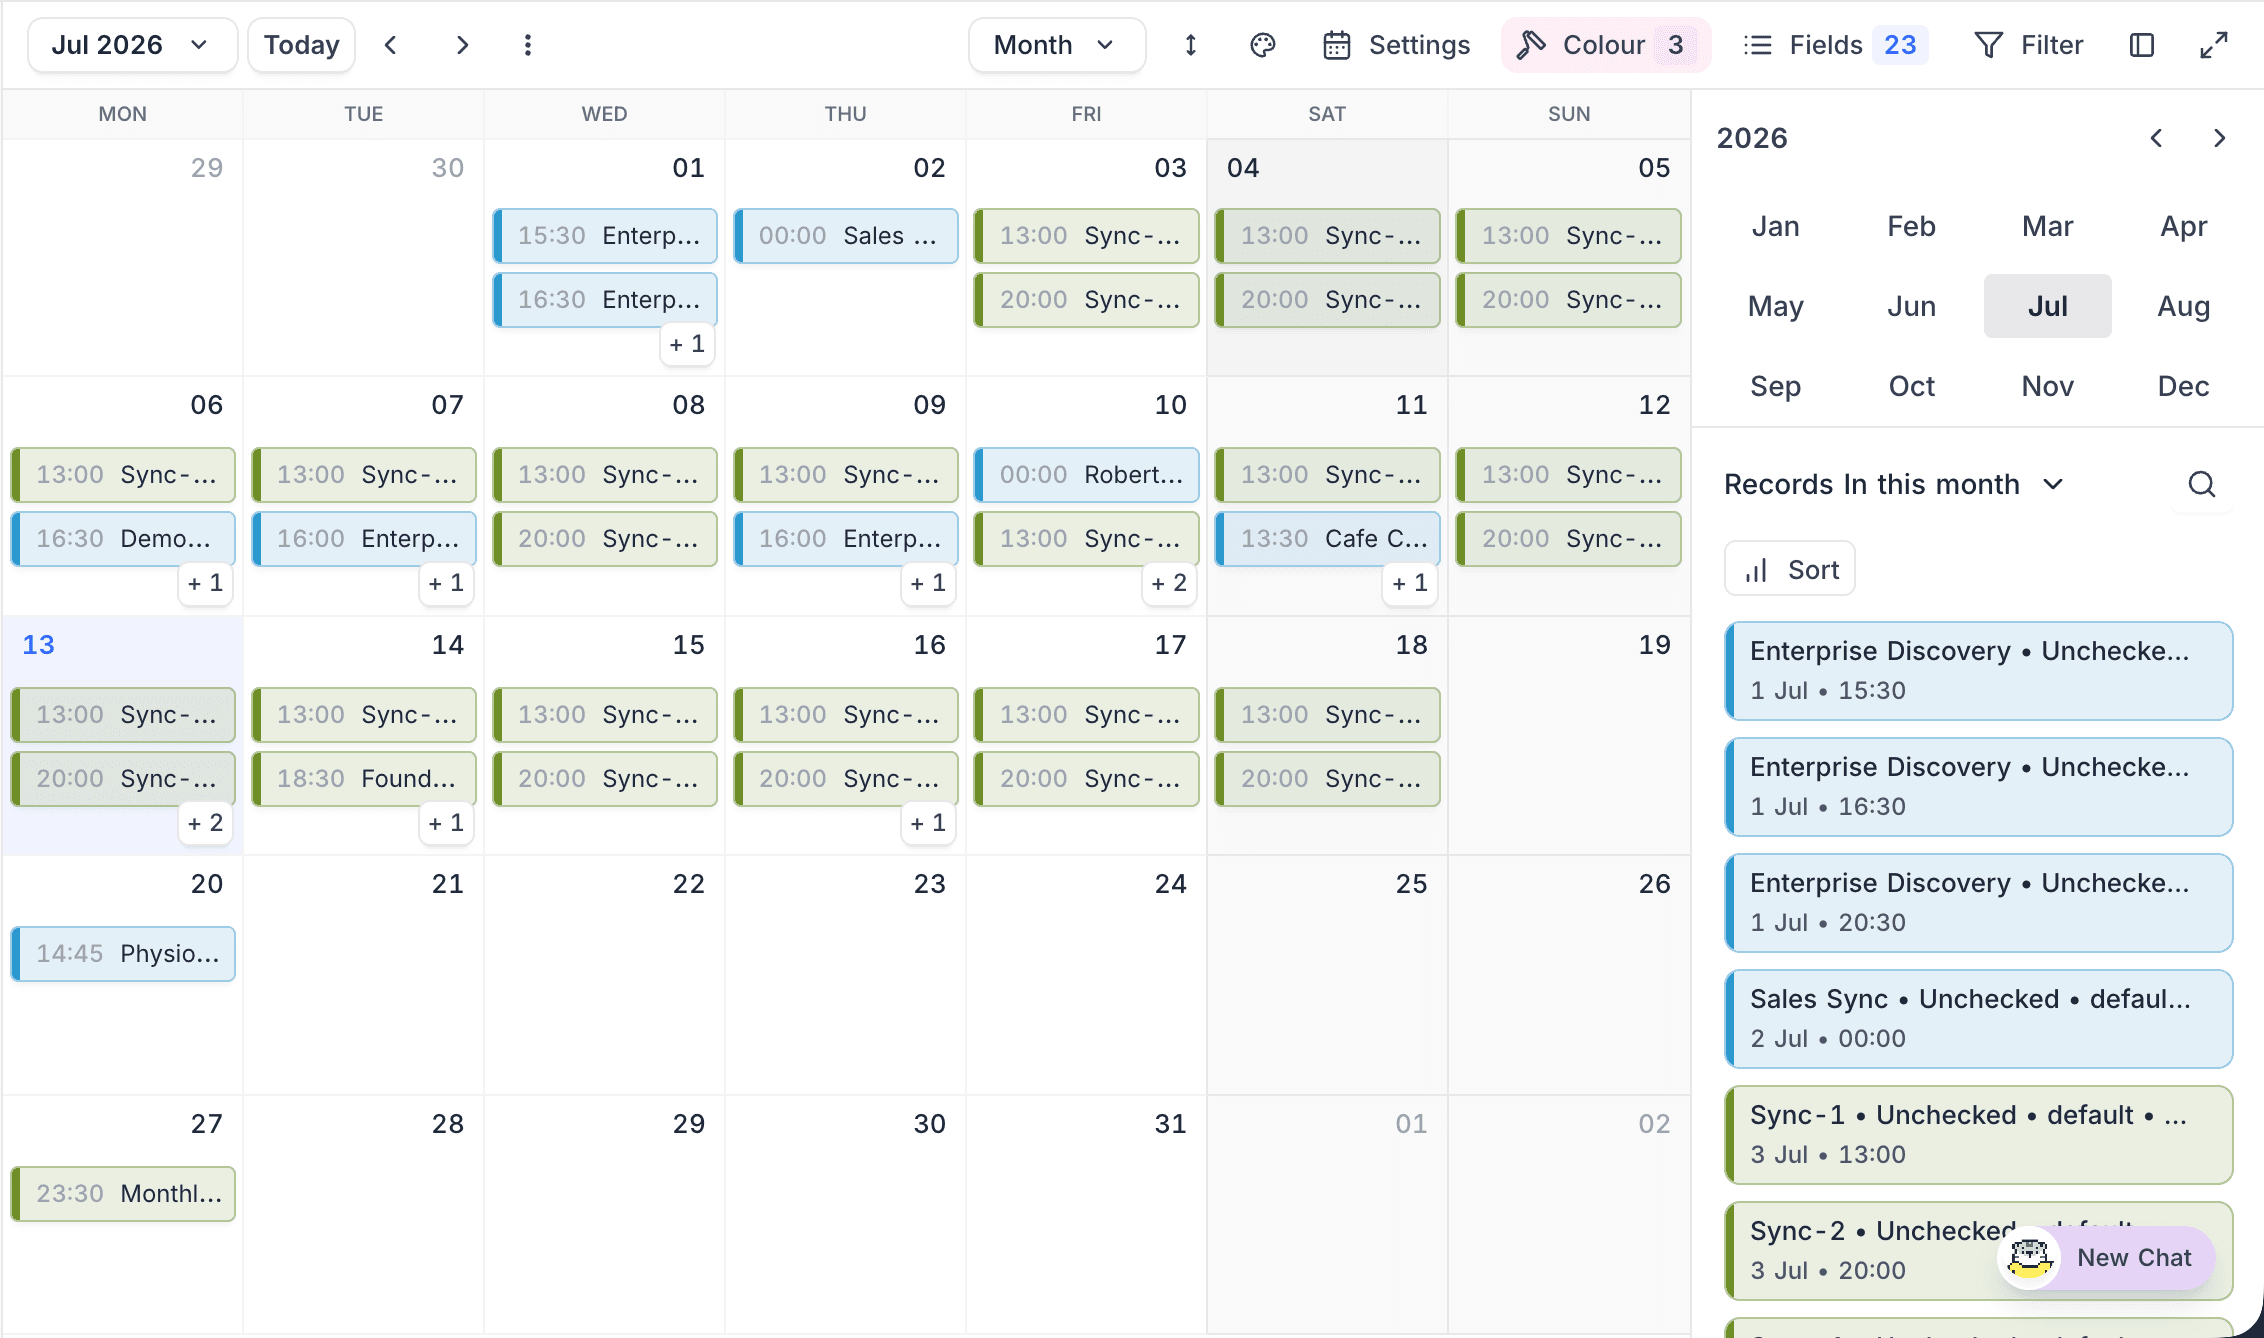
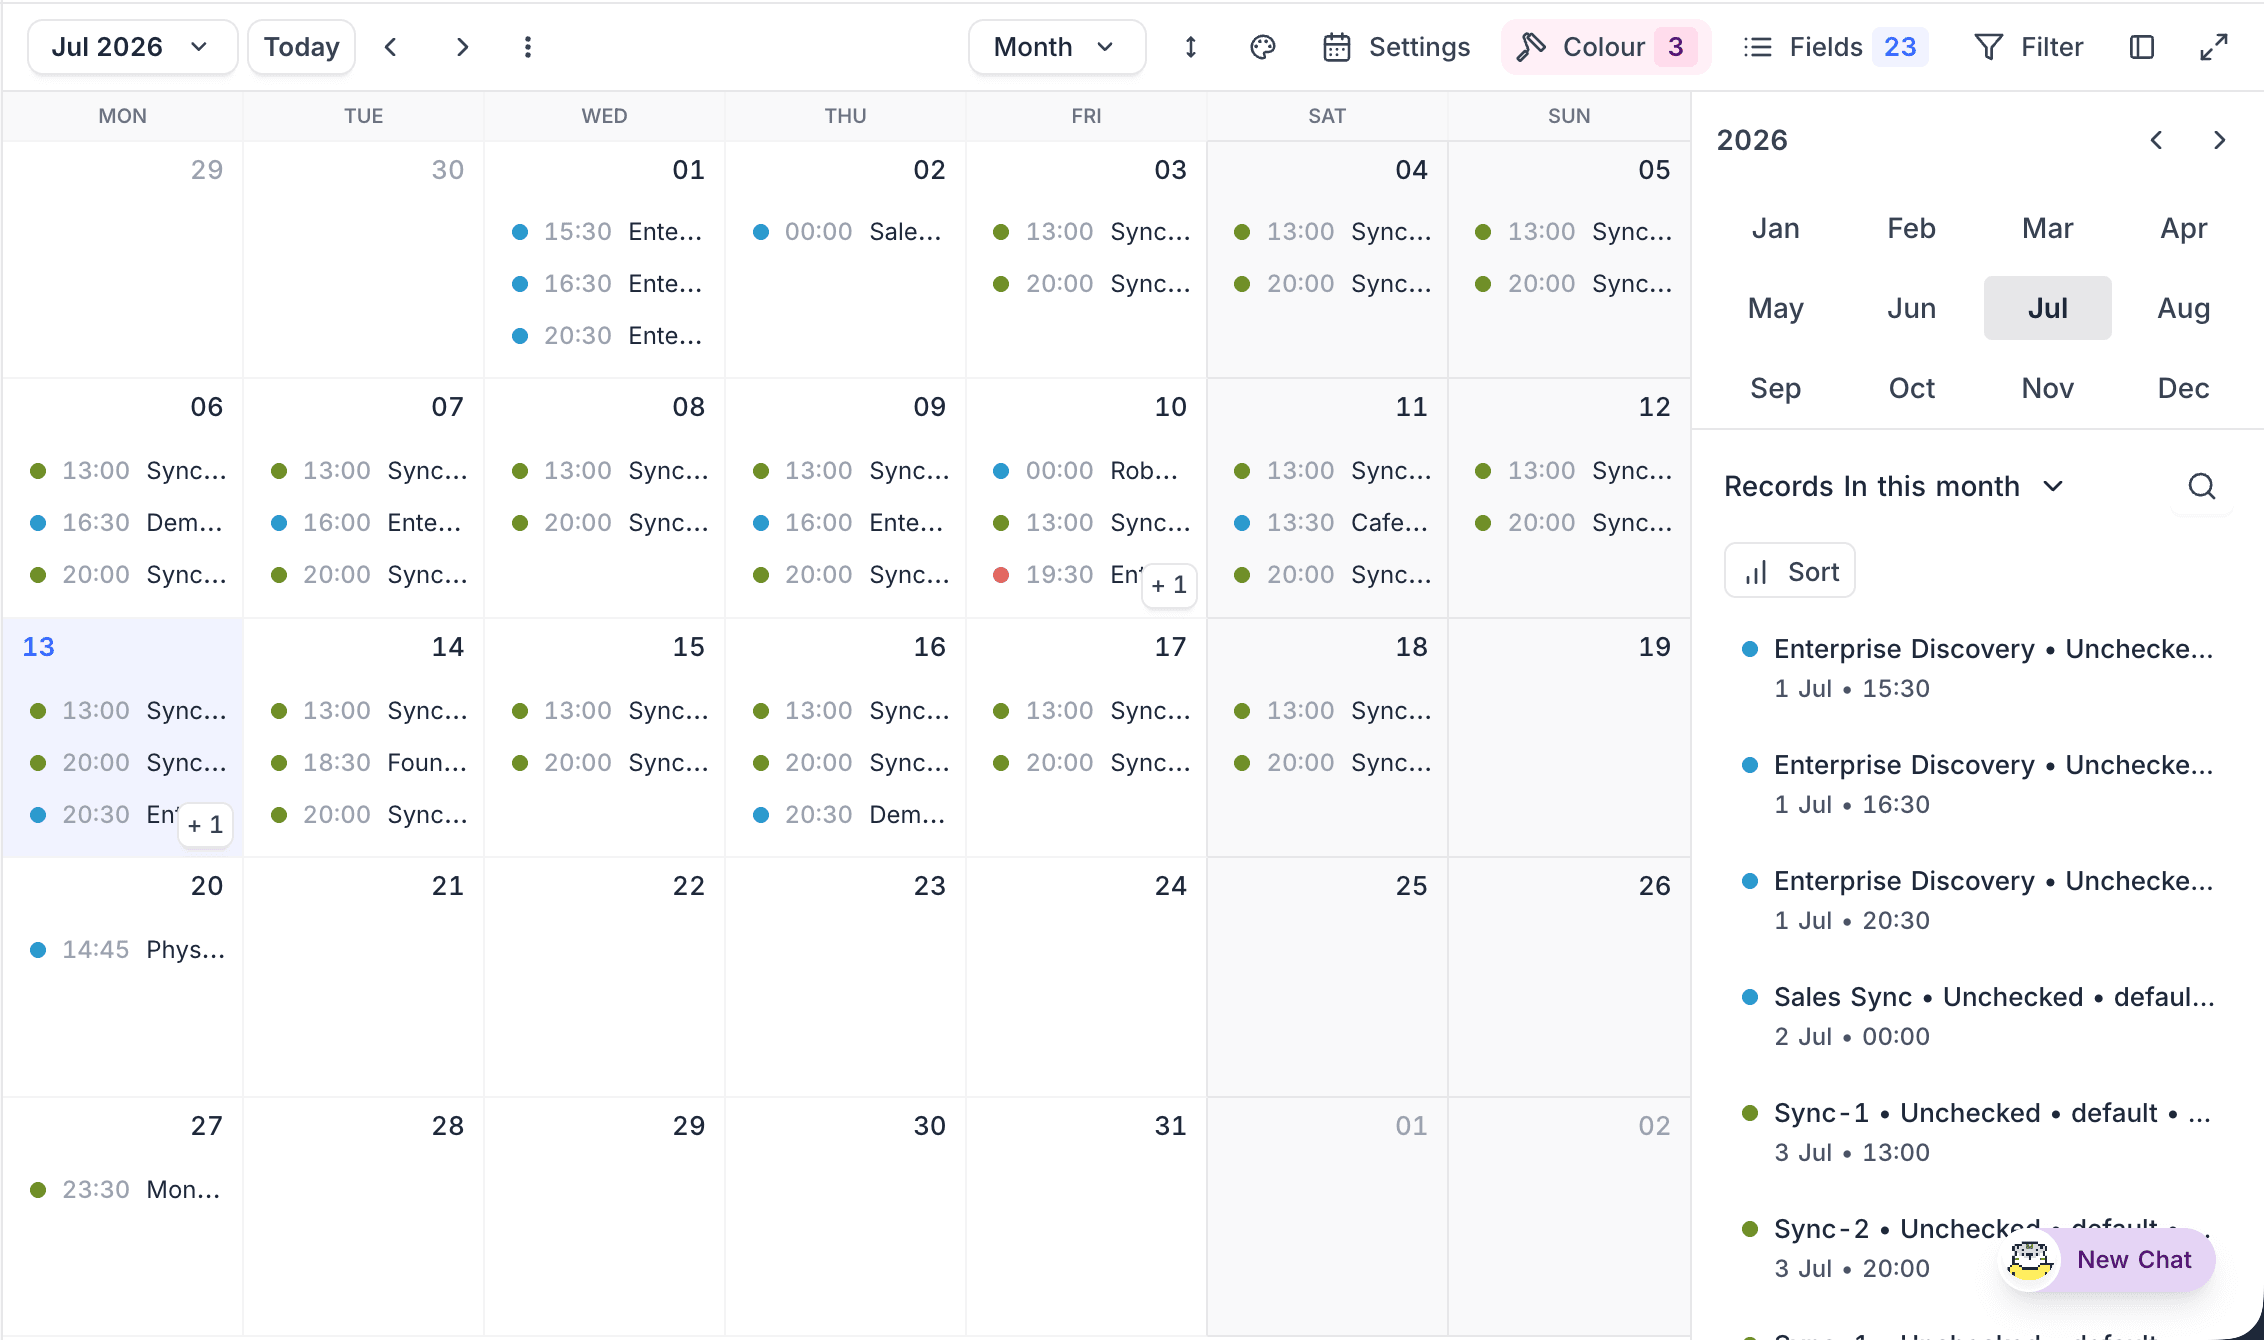
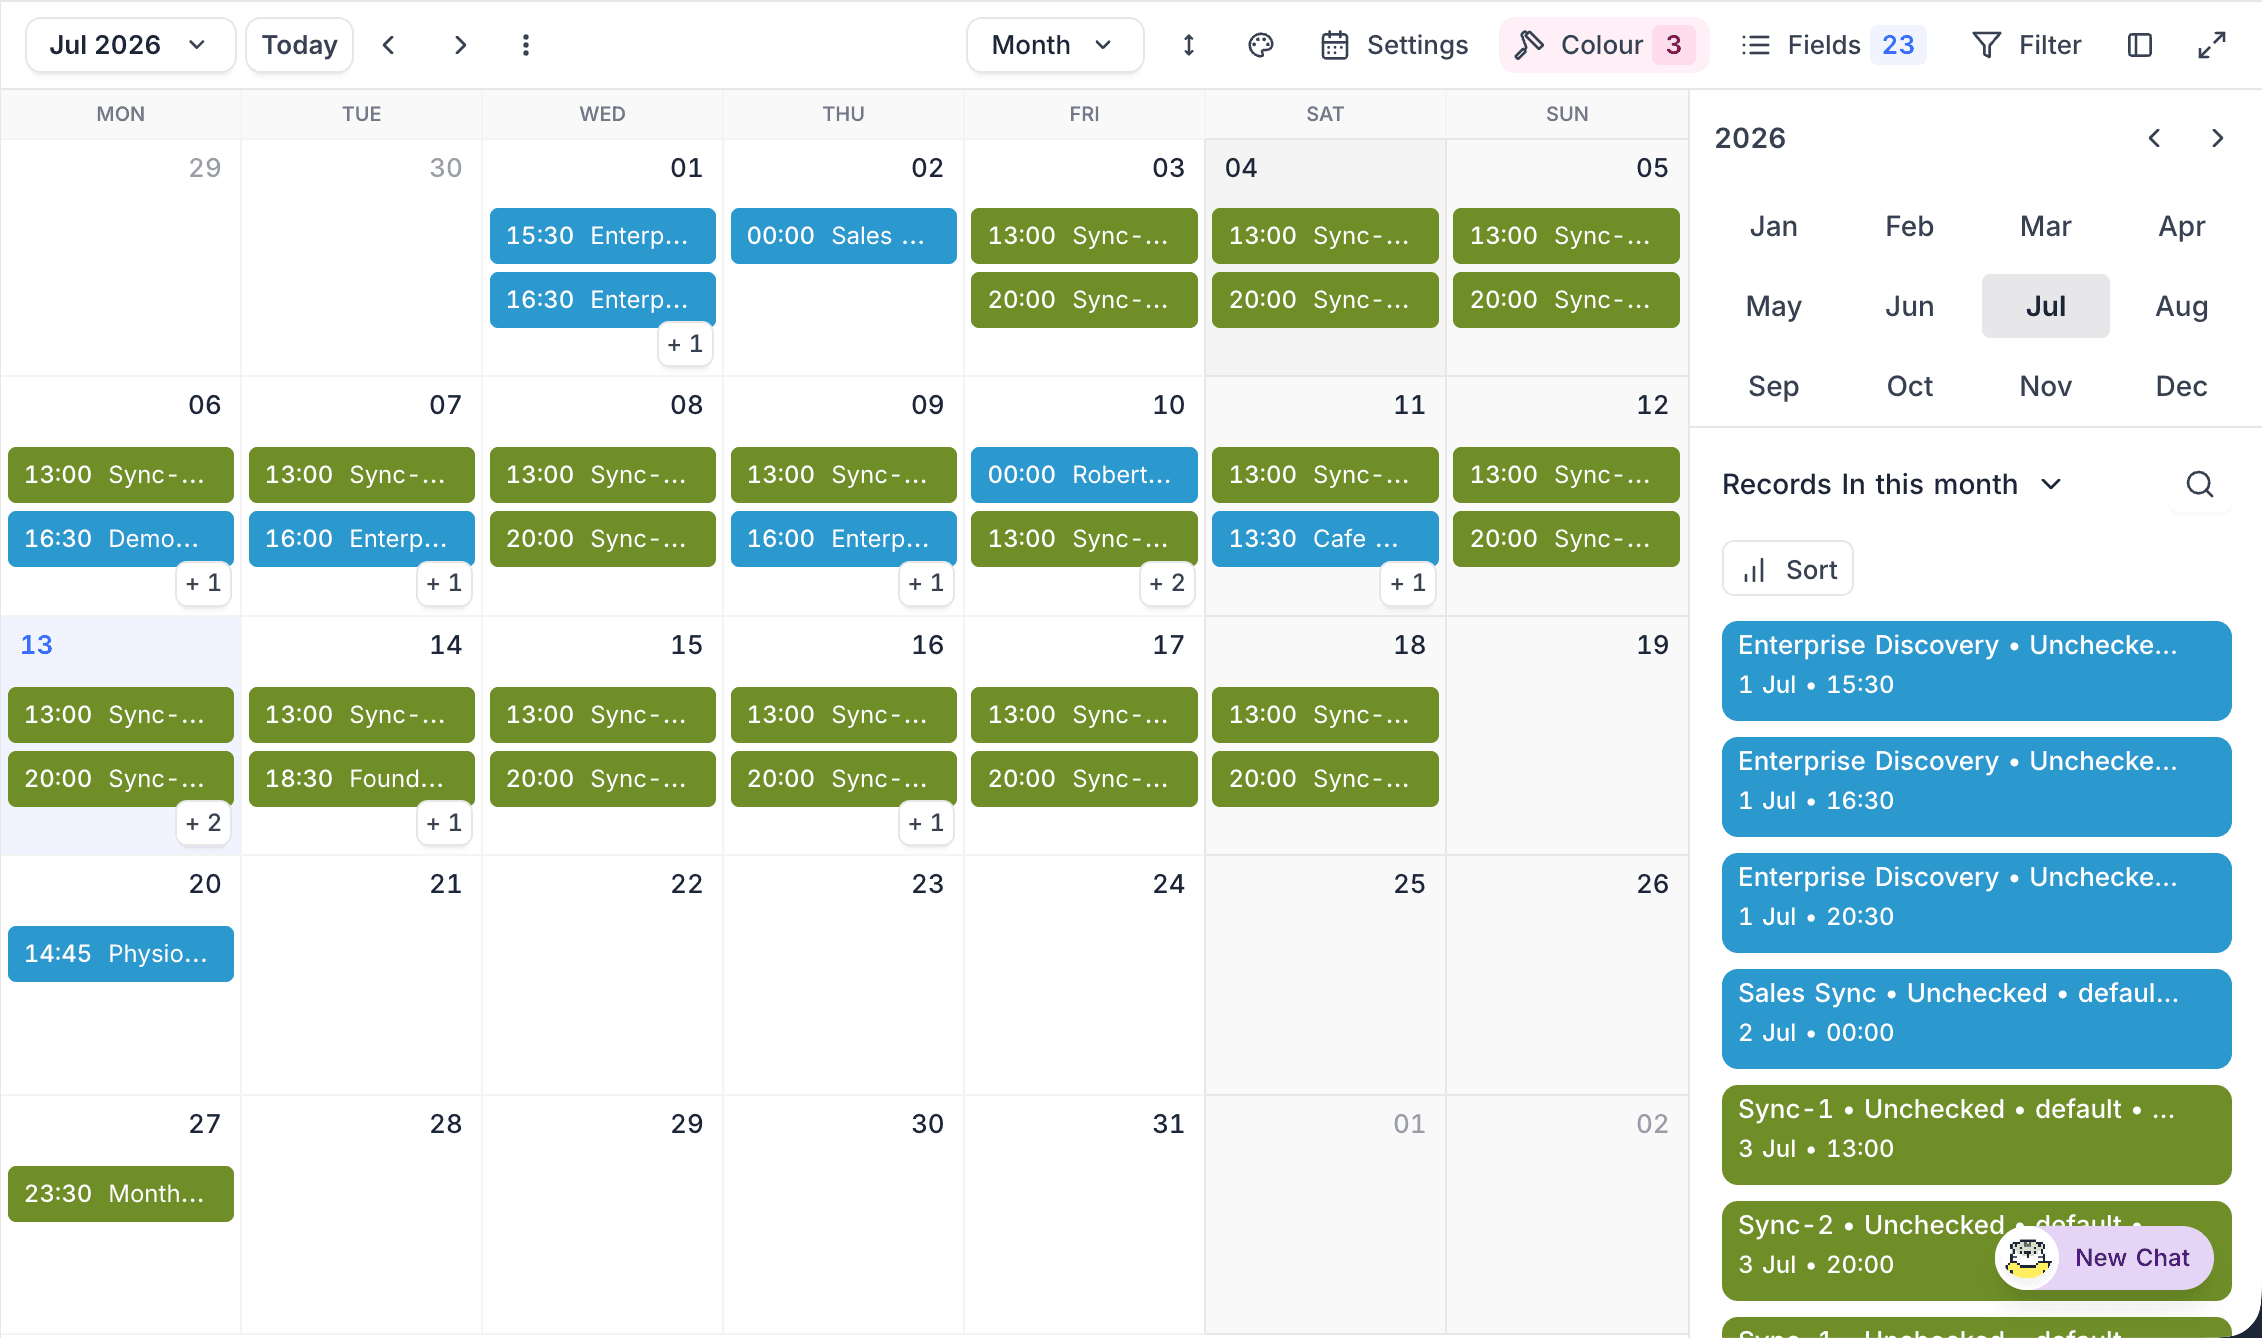
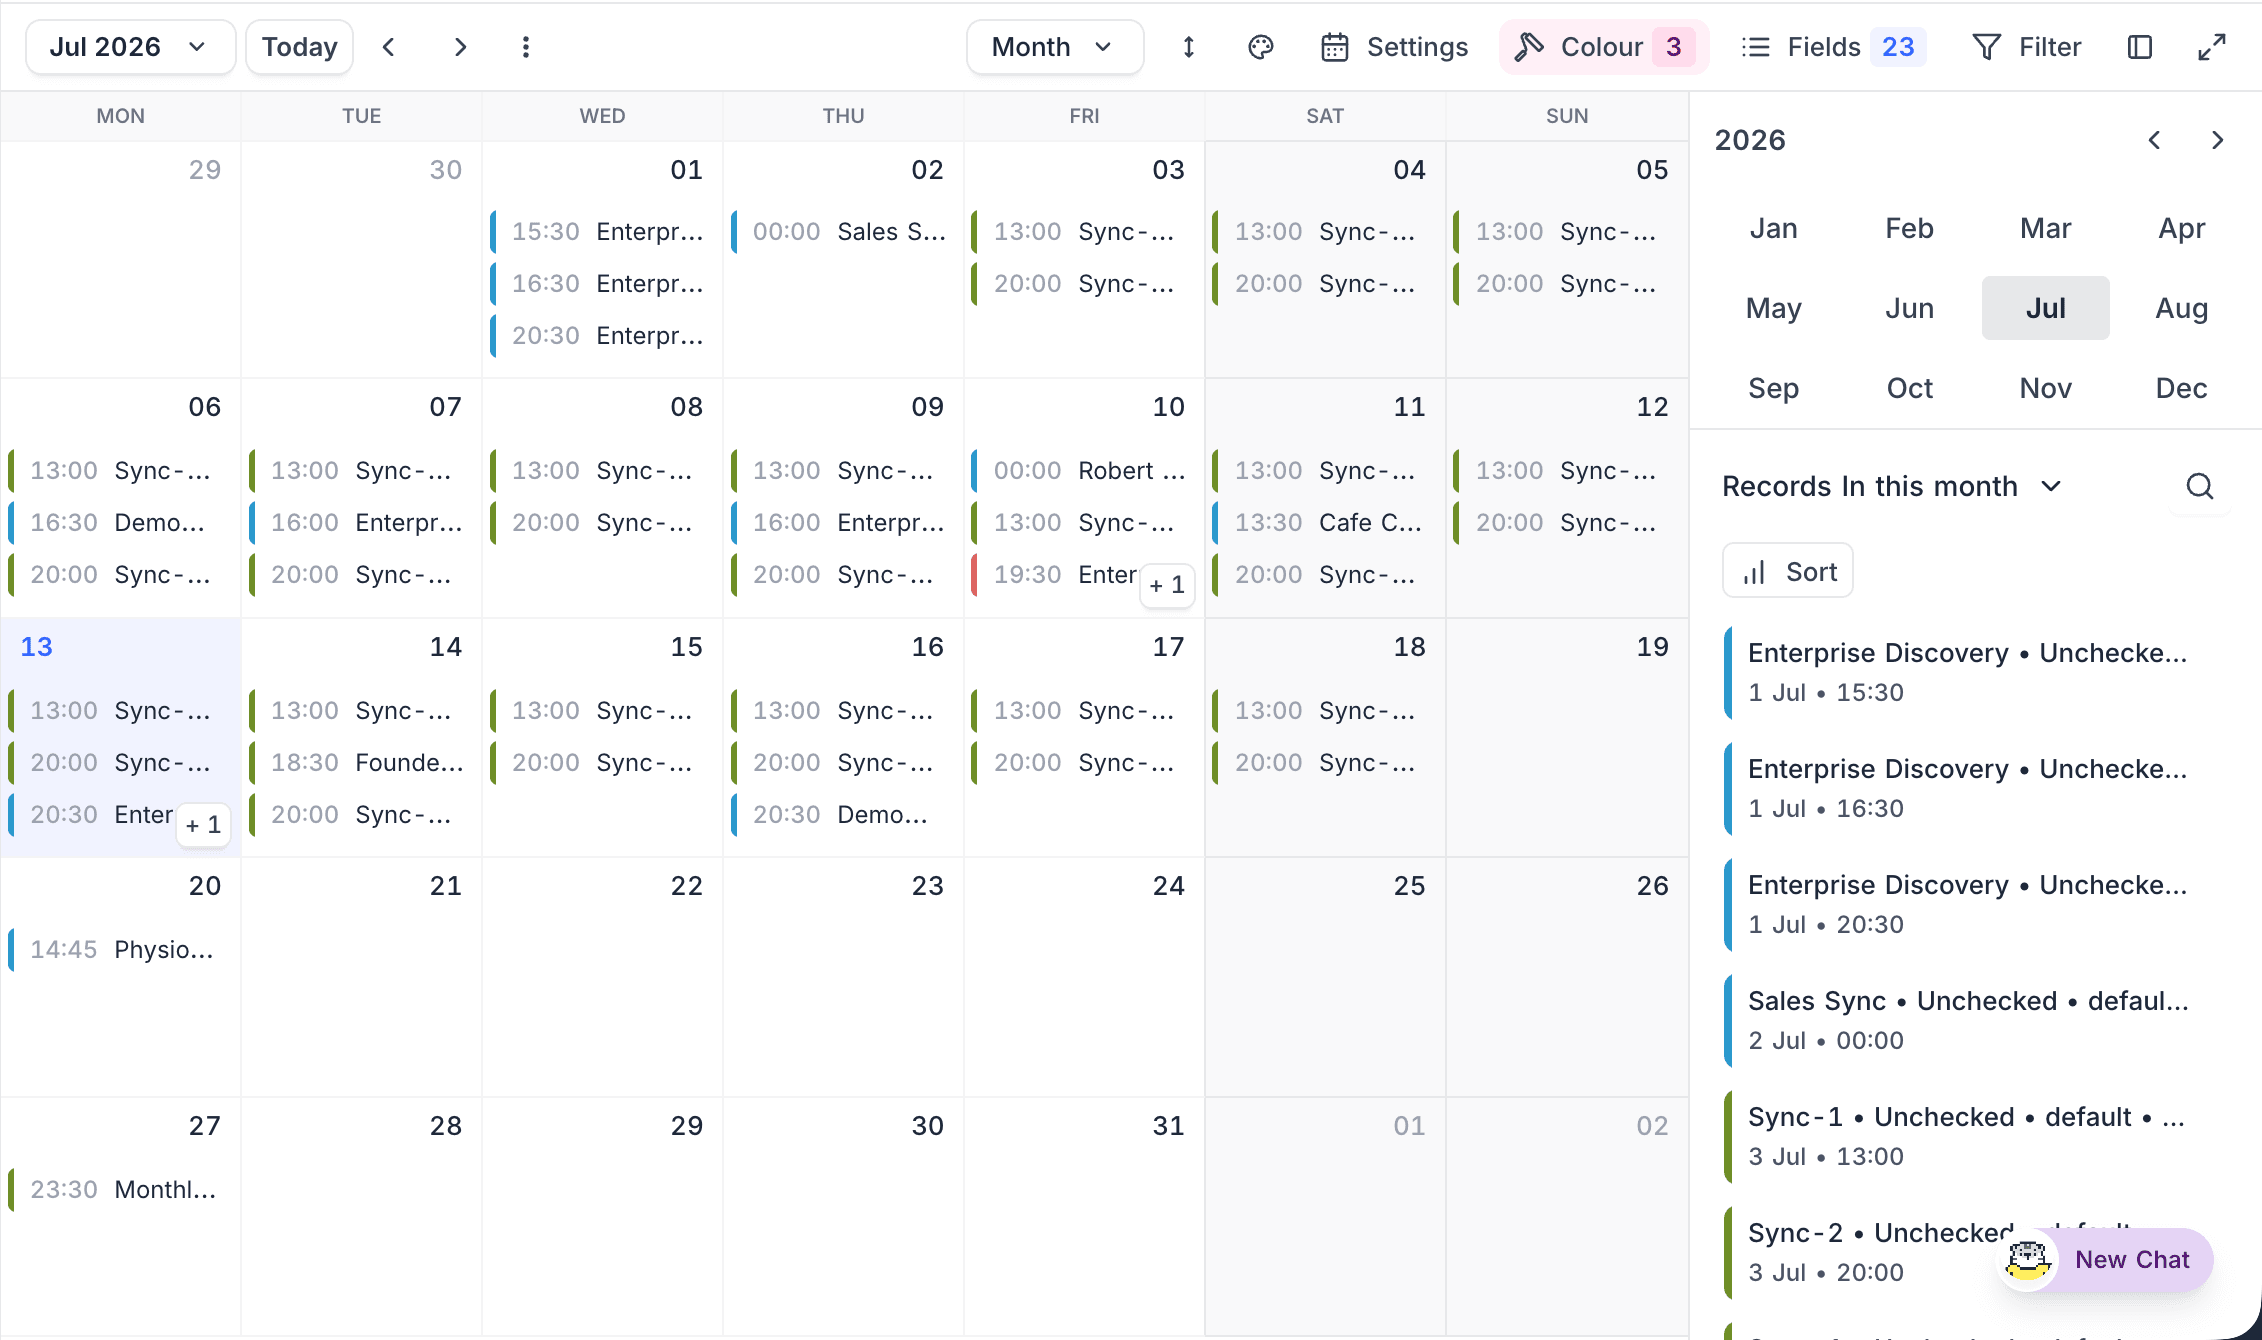
Use the Event theme picker to set how the calendar draws event chips. The picker is the palette icon in the calendar toolbar. Select one of five styles. The view keeps your selection.
Bordered (default): Outlined chip with a color bar.
Dot: Color dot with plain text.
Solid: Filled block in the event color.
Minimal: Color bar with no border or fill.
Pill: Time shown as a color pill.
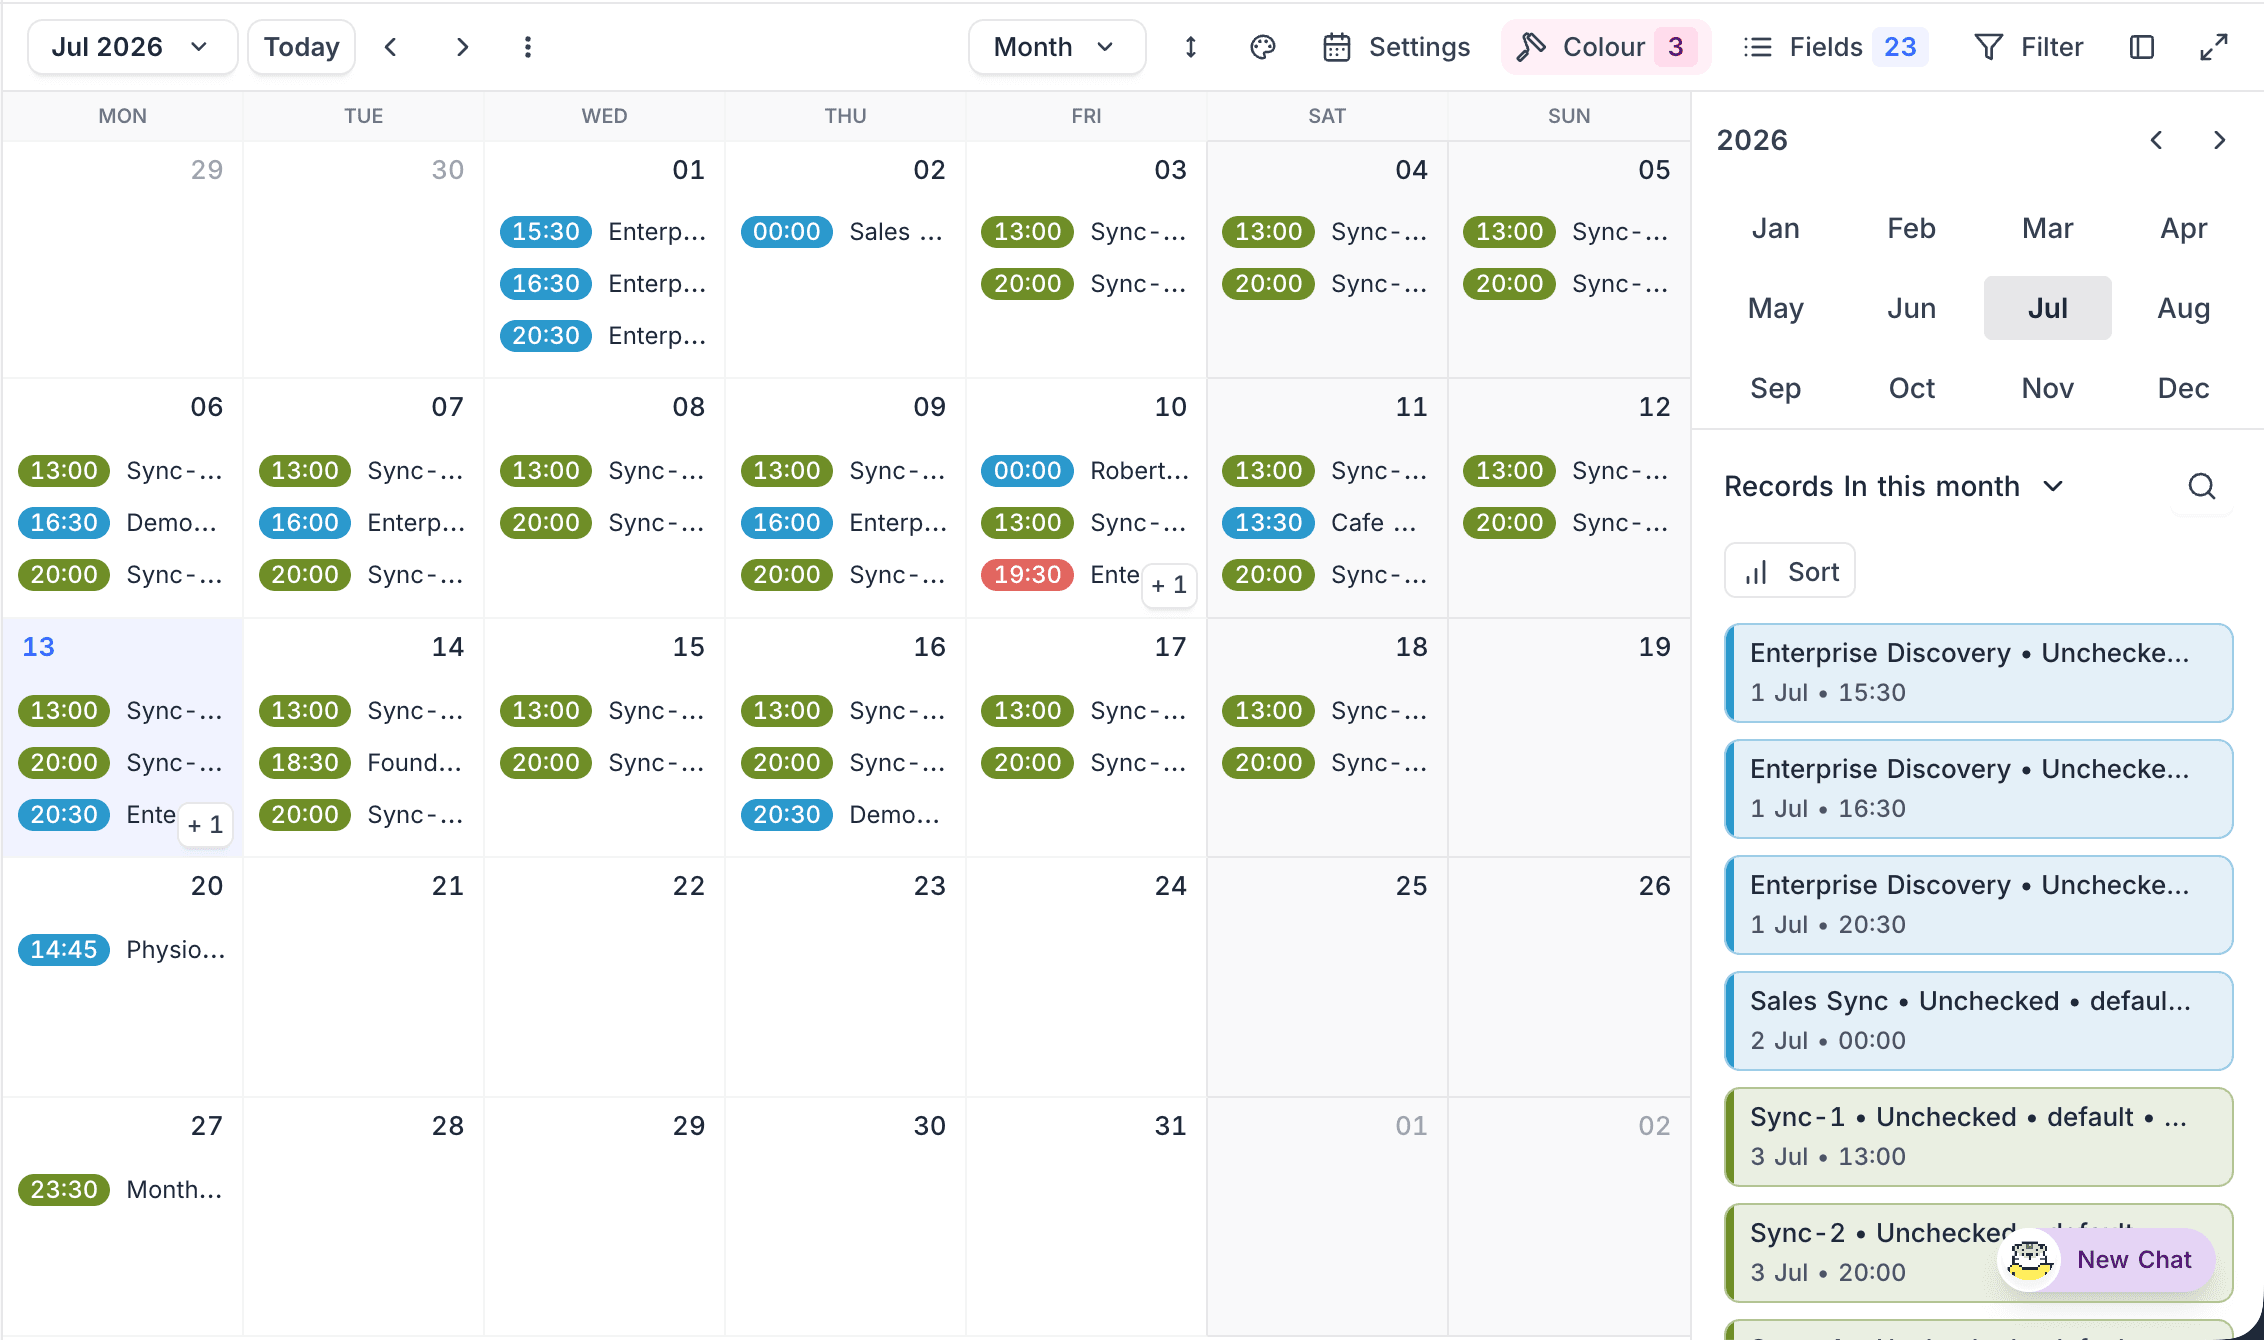
Event colors come from the record coloring feature. Events without a row color are neutral gray.
Calendar View Operations
Customize Record Label
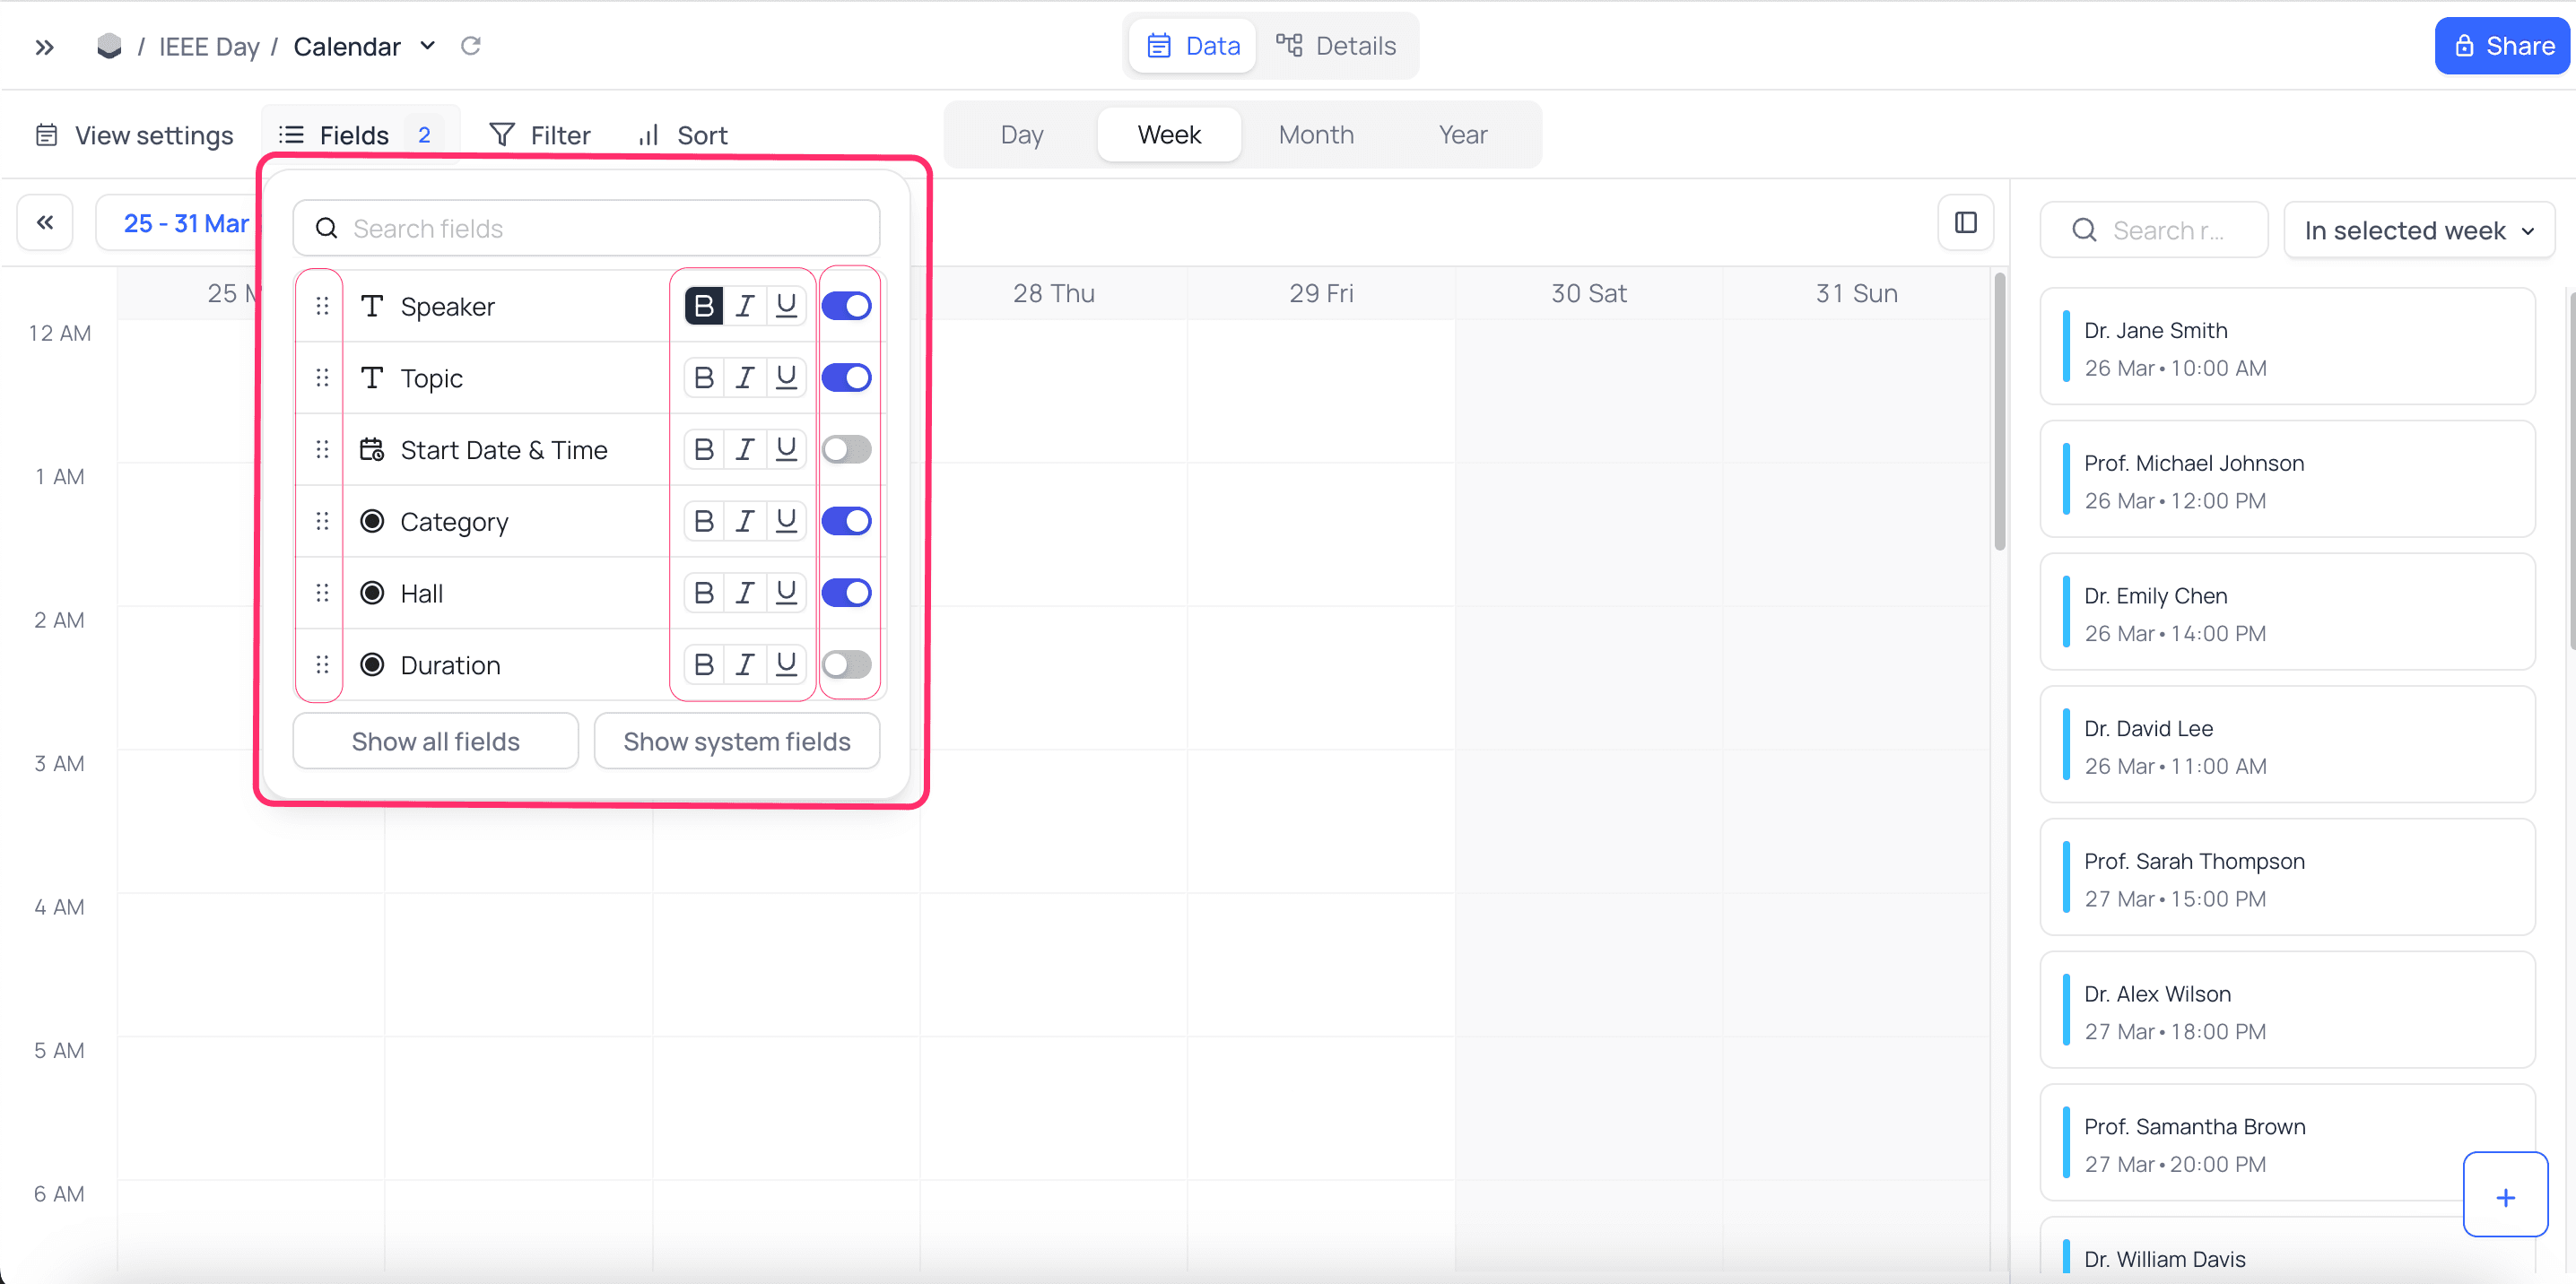
You can change the record label on the calendar. Click the Fields menu in the toolbar. In the dropdown:
- Use the toggle to show or hide a field on the calendar.
- Use reorder to change the order of the fields on the calendar.
- Use the format menu options to change how a field shows on the calendar. The formats are Bold, Italicize and Underline.
Add New Records
To add a new record to the calendar:
- Click the
+icon at the bottom right of the calendar. Or, double-click white space in the calendar. - In the form, fill in the details.
- Click
Save.
Expand Record Details
To see the details of a record, click the record. The record expands and shows all its details.
Edit Record Details
To move a record to a different date or time, drag it. To edit other details of a record:
- Click the record. The record expands.
- Make the necessary changes.
- Click
Save.
Delete Record
To delete a record:
- Click the record. The record expands.
- In the record context menu, click
Delete. - In the confirmation dialog, click
Delete.
Configuring Date Range
A date range shows each record as a block from its start date to its end date, instead of on one day.
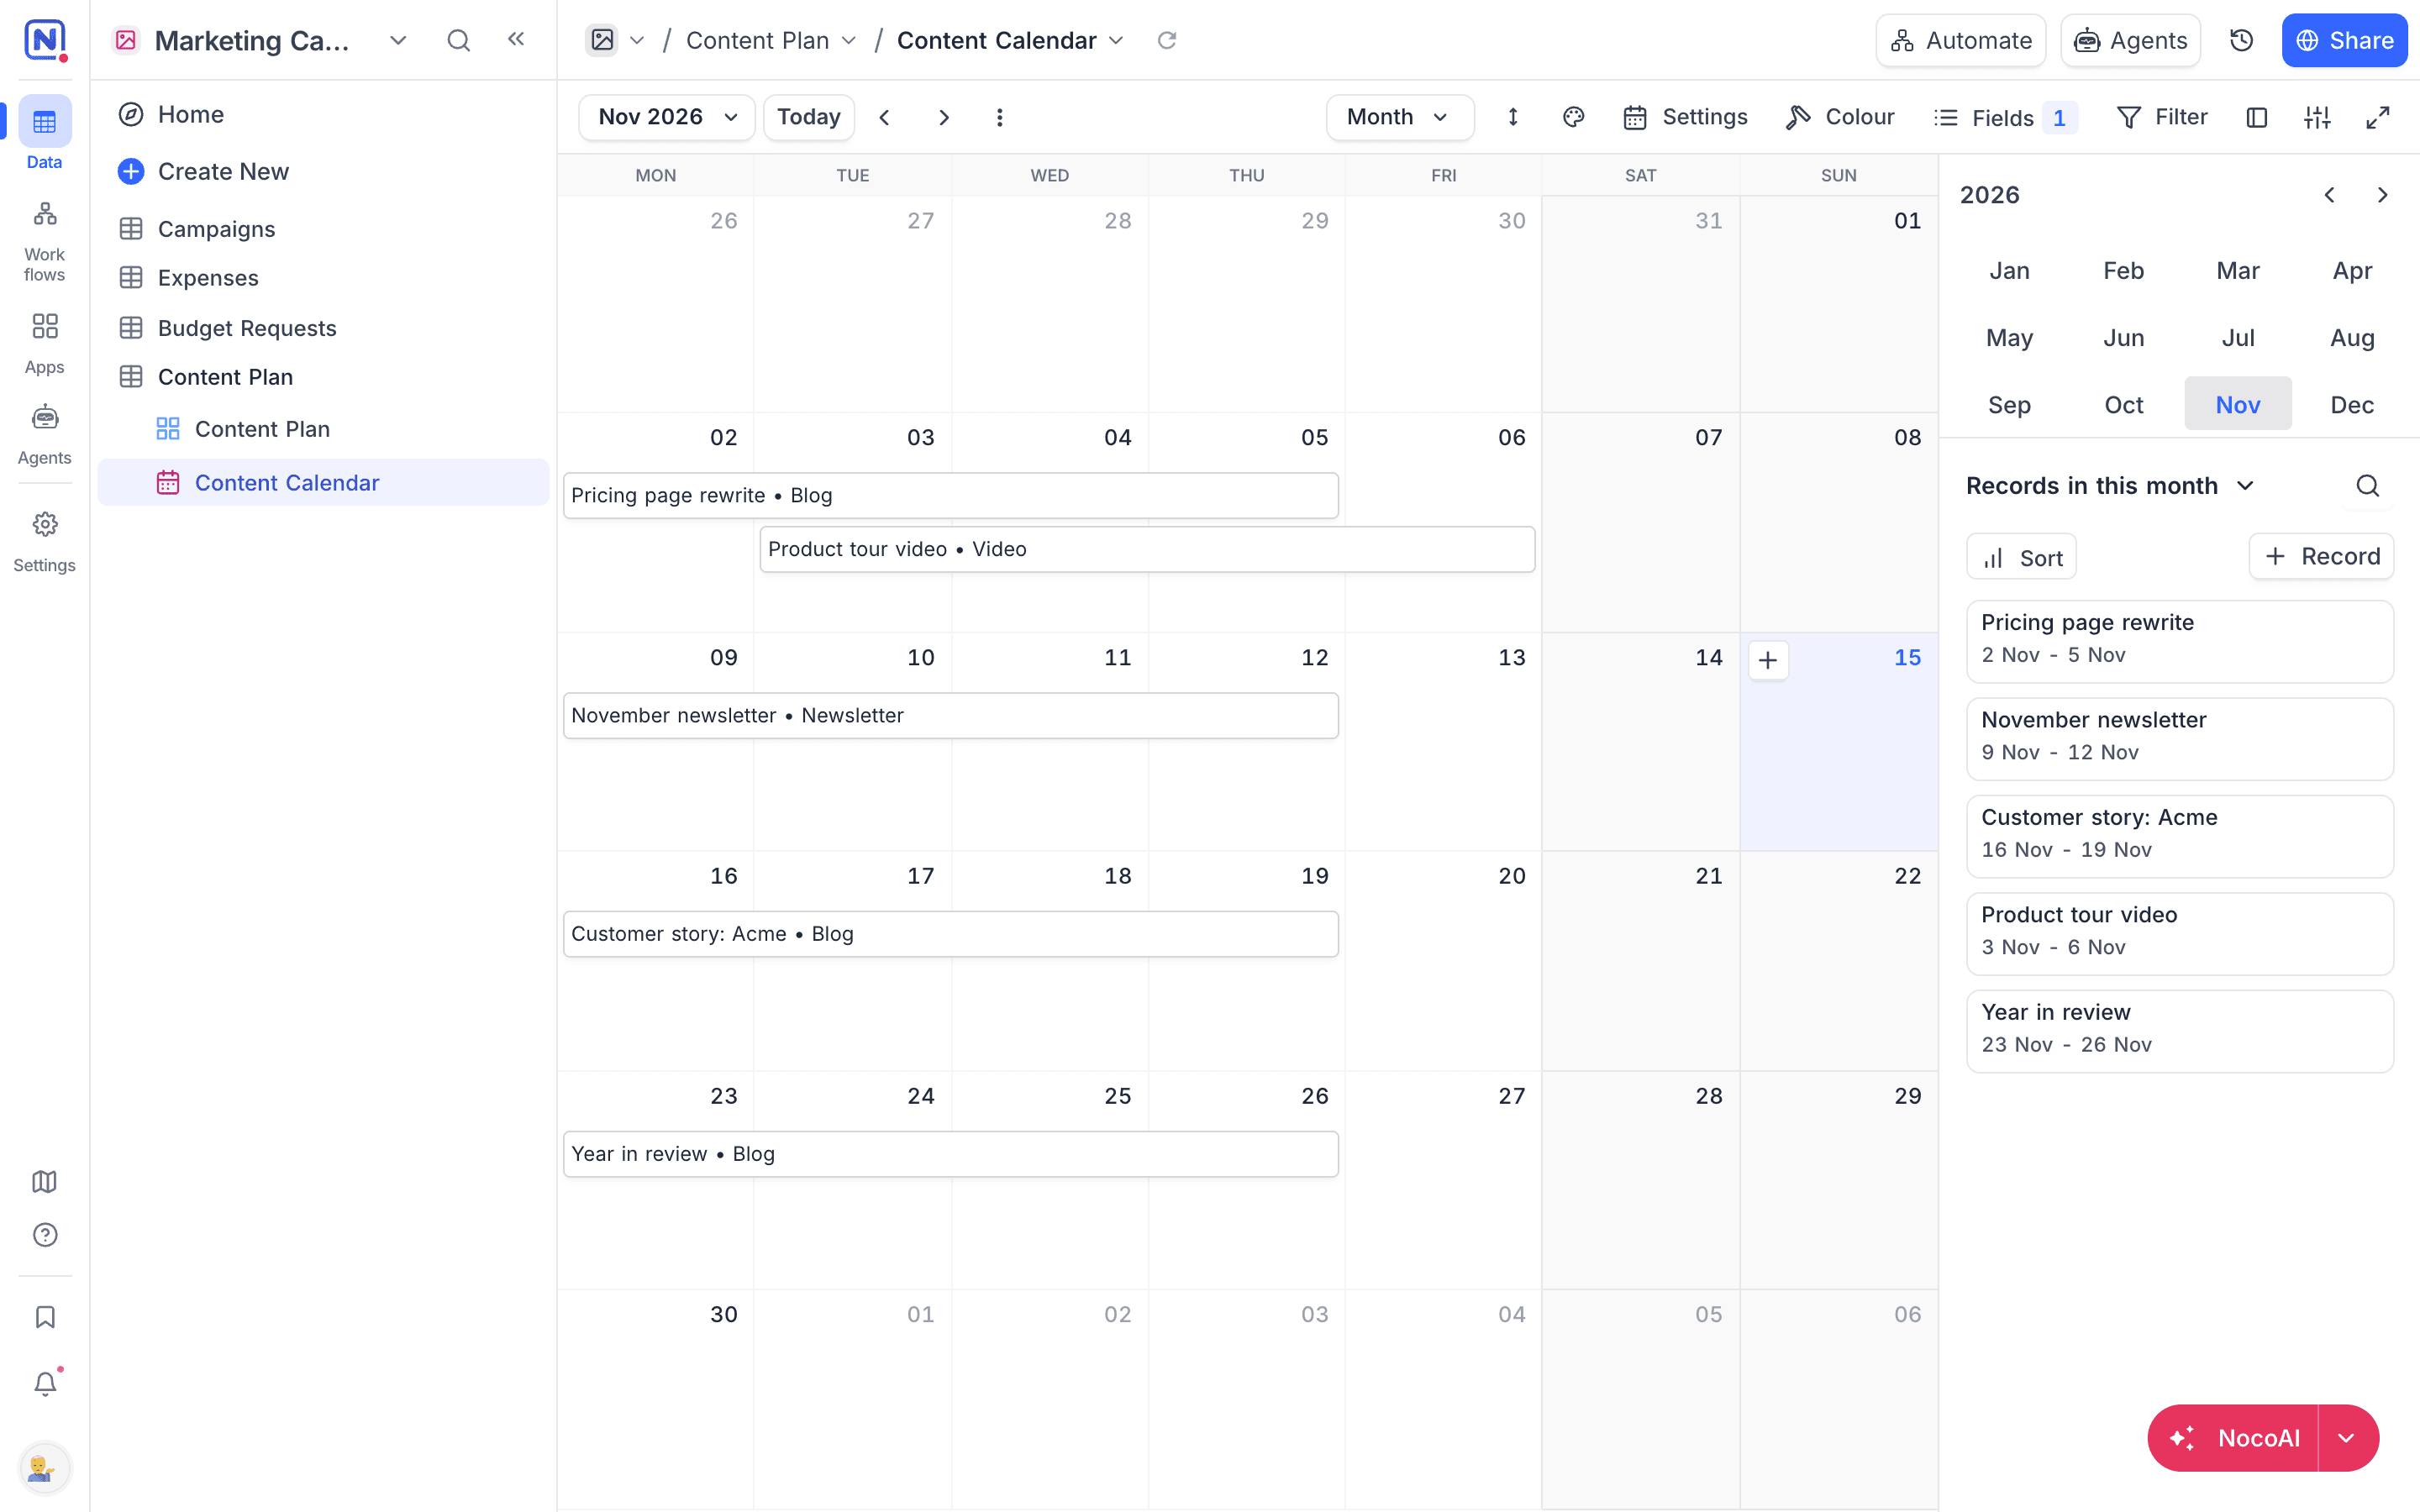
To set the end date on an existing calendar view:
- In the calendar toolbar, click
Settings. - Click
+ End Date.
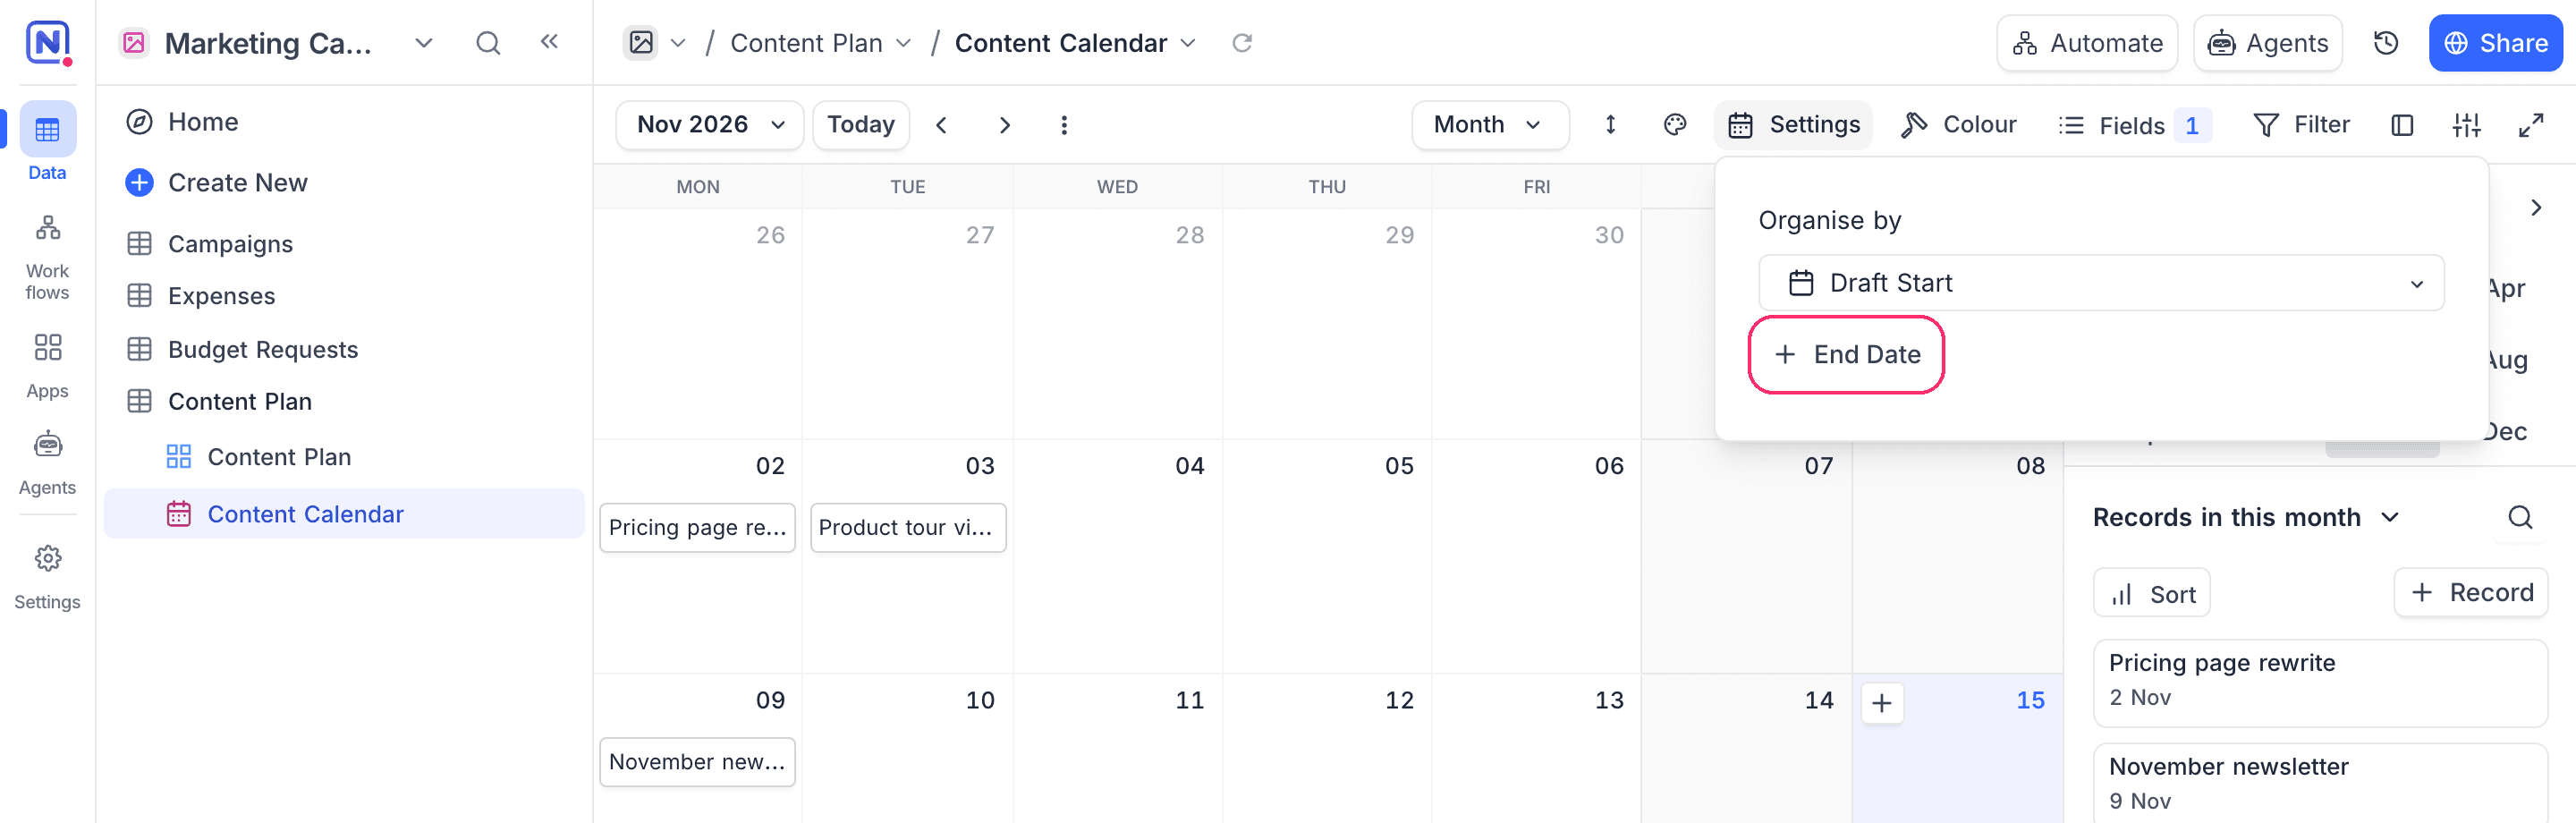
- Under With end date, select the field to use as the end date.
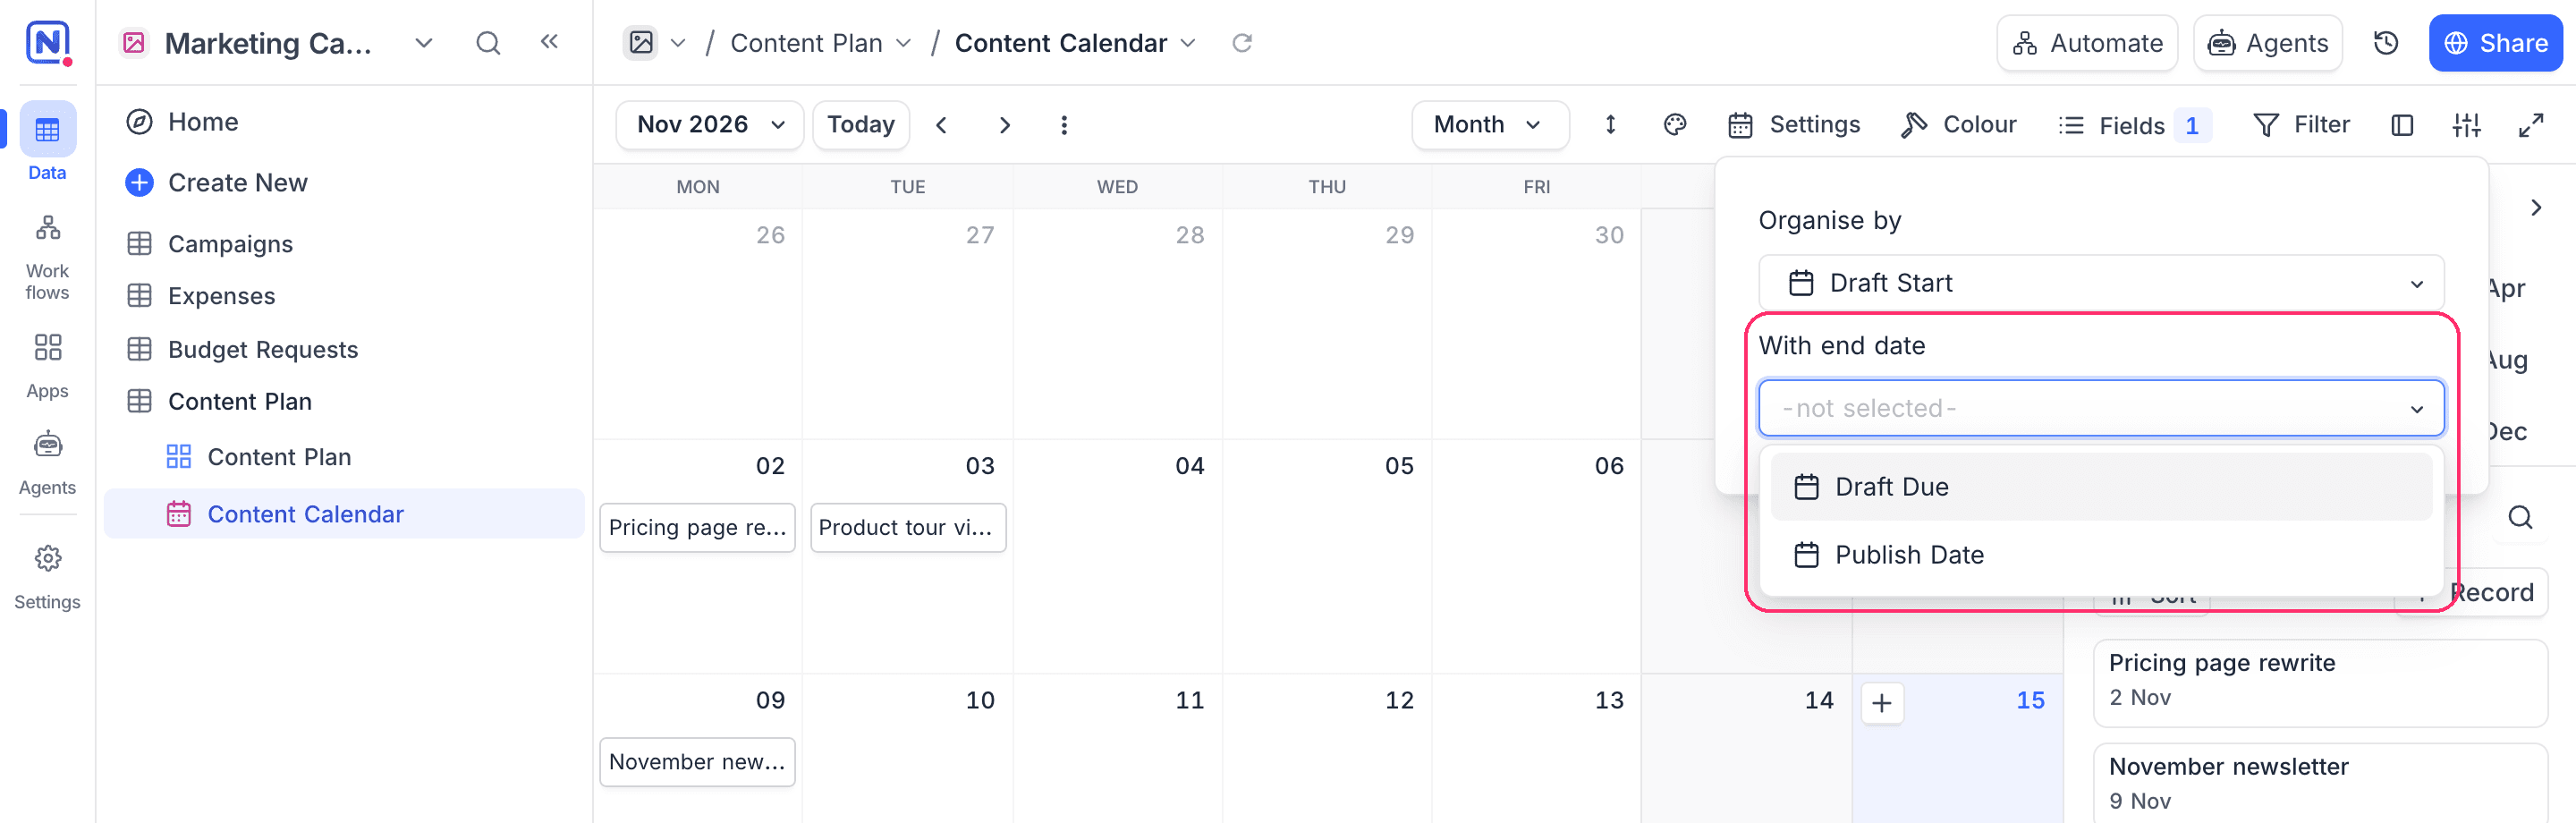
The start and end fields can be Date, DateTime, Created time or Last modified time fields. The end field must have the same type and timezone as the start field.
You can also set the end date when you create the view. In the Create Calendar View dialog, click + End Date, then select the end date field.
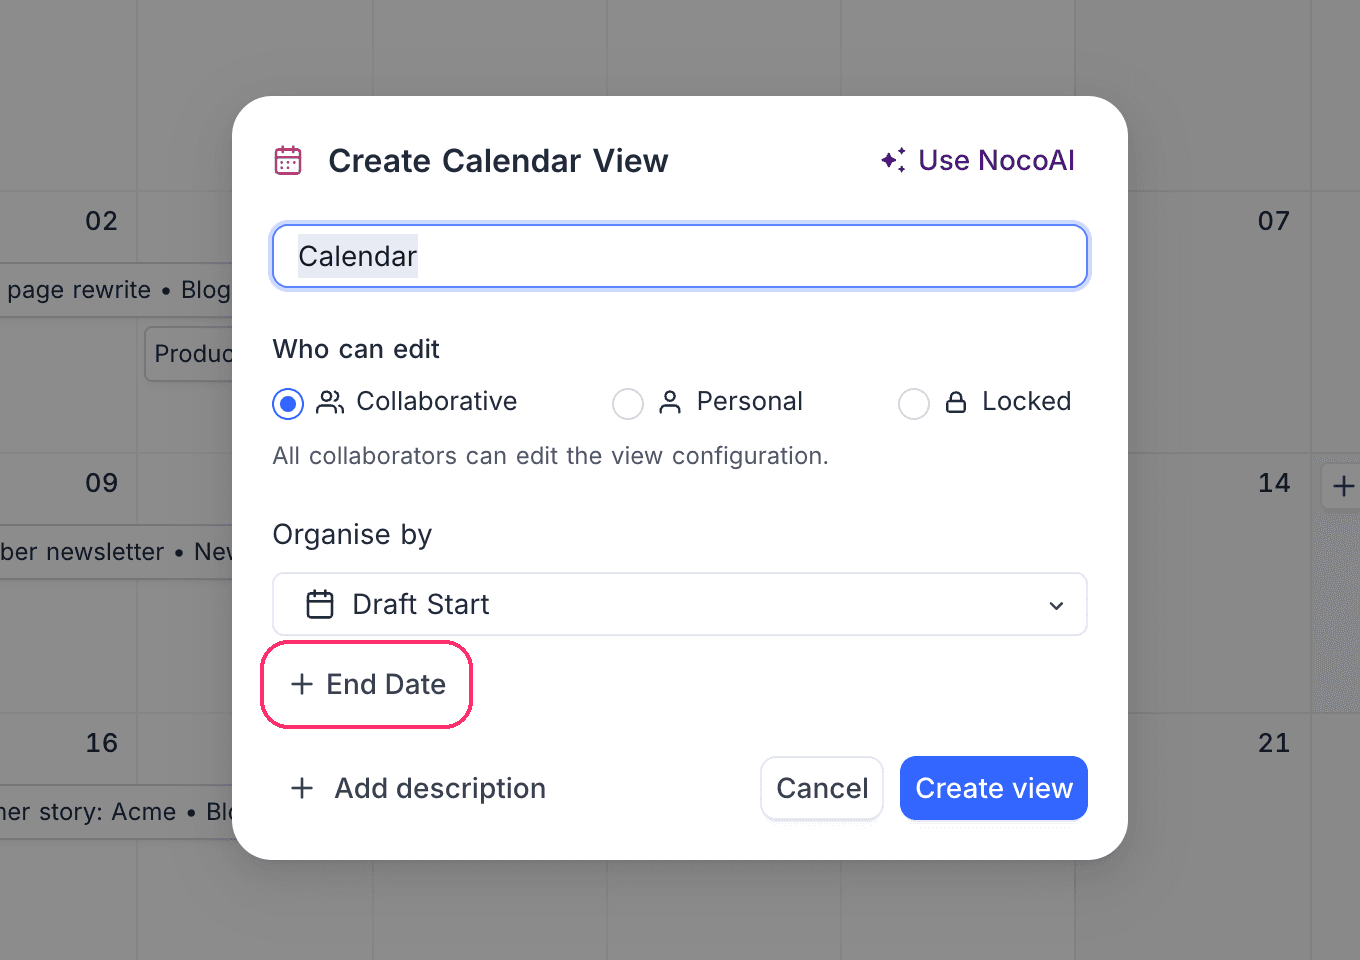
When the date range is on, drag a record to change its start and end dates. Resize a record to change its duration.
Showing several date ranges
To track more than one date per record on the same calendar, for example a drafting period and a publish date, add a date range for each of those fields. You add extra ranges from the toolbar after you create the view.
- In the calendar toolbar, click
Settings. - Under Organise by, click
+ Add date range. - In the new row, select the start date field for the range.
- (Optional) Click
+ End Dateand select the end date field. - (Optional) In the Label box, enter a name of up to 40 characters for the range. The Label box shows when the view has two or more ranges.
A record shows on the calendar once for each range it has a date in. The Day, 3 Days, Week, 2 Weeks, Month, 6 Weeks and custom timescales draw one card per range. The Year timescale is unchanged.
Every range on a view uses the same field type and timezone as the first range, and a field can belong to only one range. The first range cannot be removed. A calendar view holds up to 20 date ranges. A formula field can be the start field only while the view has a single range.
Each range also gets an accent color. A card without a row color uses the accent of its range. If the range has a label, the label shows on the card. Record coloring takes priority over the accent.
To add a record to one specific range, click the + on a day in the Month timescale, or Record in the side menu, then select the range. NocoDB fills in the date fields of the range you select.
Other toolbar operations
Last updated on