Ping Identity
Learn how to configure Ping Identity as an identity provider for NocoDB.
OIDC SSO is available on NocoDB Cloud (Business plan and above) and licensed self-hosted deployments (Business plan and above). For access, please reach out to sales team.
This article briefs about the steps to configure Ping Identity as Identity service provider for NocoDB
For users on Business plan, the SSO configuration menu is available under Workspace Settings.
Refer here for more details.
Domain Verification Required for Cloud Plans: Before configuring OIDC SSO, you must verify your domain in NocoDB (required for both Business and Enterprise plans in the cloud). Only users with email addresses from verified domains can sign in via SSO. See Domain Verification for details.
NocoDB, Retrieve Redirect URL
- Go to
Account Settings - Select
Authentication (SSO) - Click on
New Providerbutton - On the Popup modal, Specify a
Display namefor the provider; note that, this name will be used to display the provider on the login page - Retrieve
Redirect URL; this information will be required to be configured later with the Identity Provider


Ping Identity, Configure NocoDB as an Application
- Access your PingOne account and navigate to the homepage.
- Click on
Add Environmentfrom the top right corner. - On the
Create Environmentscreen,- Opt for
Build your own solution - In the
Select solution(s) for your Environmentsection, selectPingOne SSOfromCloud Services - Click
Next - Provide a name and description for the environment,
- Click
Next
- Opt for
- Access the newly created environment and go to
Connections>Applicationsfrom the sidebar. - Within the Applications homepage, initiate the creation of a new application by clicking the "+" icon.
- On the "Add Application" panel:
- Input the application name and description.
- Choose "OIDC Web App" as the Application Type and click "Configure"
- From your application,
- Go to
Configurationstab - Click on
Editbutton - Check
Refresh Tokenoption - Copy
Authorization URL,Token URL,Userinfo URL&JWK Set URLfrom theEndpointssection - From
Generalsdropdown, copyClient ID&Client Secret Save
- Go to
- From
Resourcestab,- Click
Edit - Select
openidprofileemailfromScopes
- Click
- Switch toggle button in the top right corner to
Onto activate the application.
NocoDB, Configure Ping Identity as an Identity Provider
- In NocoDB, open
Account Settings>Authentication>OIDC. On the "Register OIDC Identity Provider" modal, insert the following information:- Insert
Client IDretrieved in step (9) above asClient ID - Insert
Client Secretretrieved in step (9) above asClient Secret - Insert
Authorization URLretrieved in step (9) above asAuthorization URL - Insert
Token URLretrieved in step (9) above asToken URL - Insert
Userinfo URLretrieved in step (9) above asUserinfo URL - Insert
JWK Set URLretrieved in step (9) above asJWK Set URL - Set
Scopeasopenidprofileemailoffline_access - In the Username Attribute field, indicate the name of the claim that represents the user's email. The default value is set to "email."
- Insert
For Sign-in's, user should be able to now see Sign in with <SSO> option.
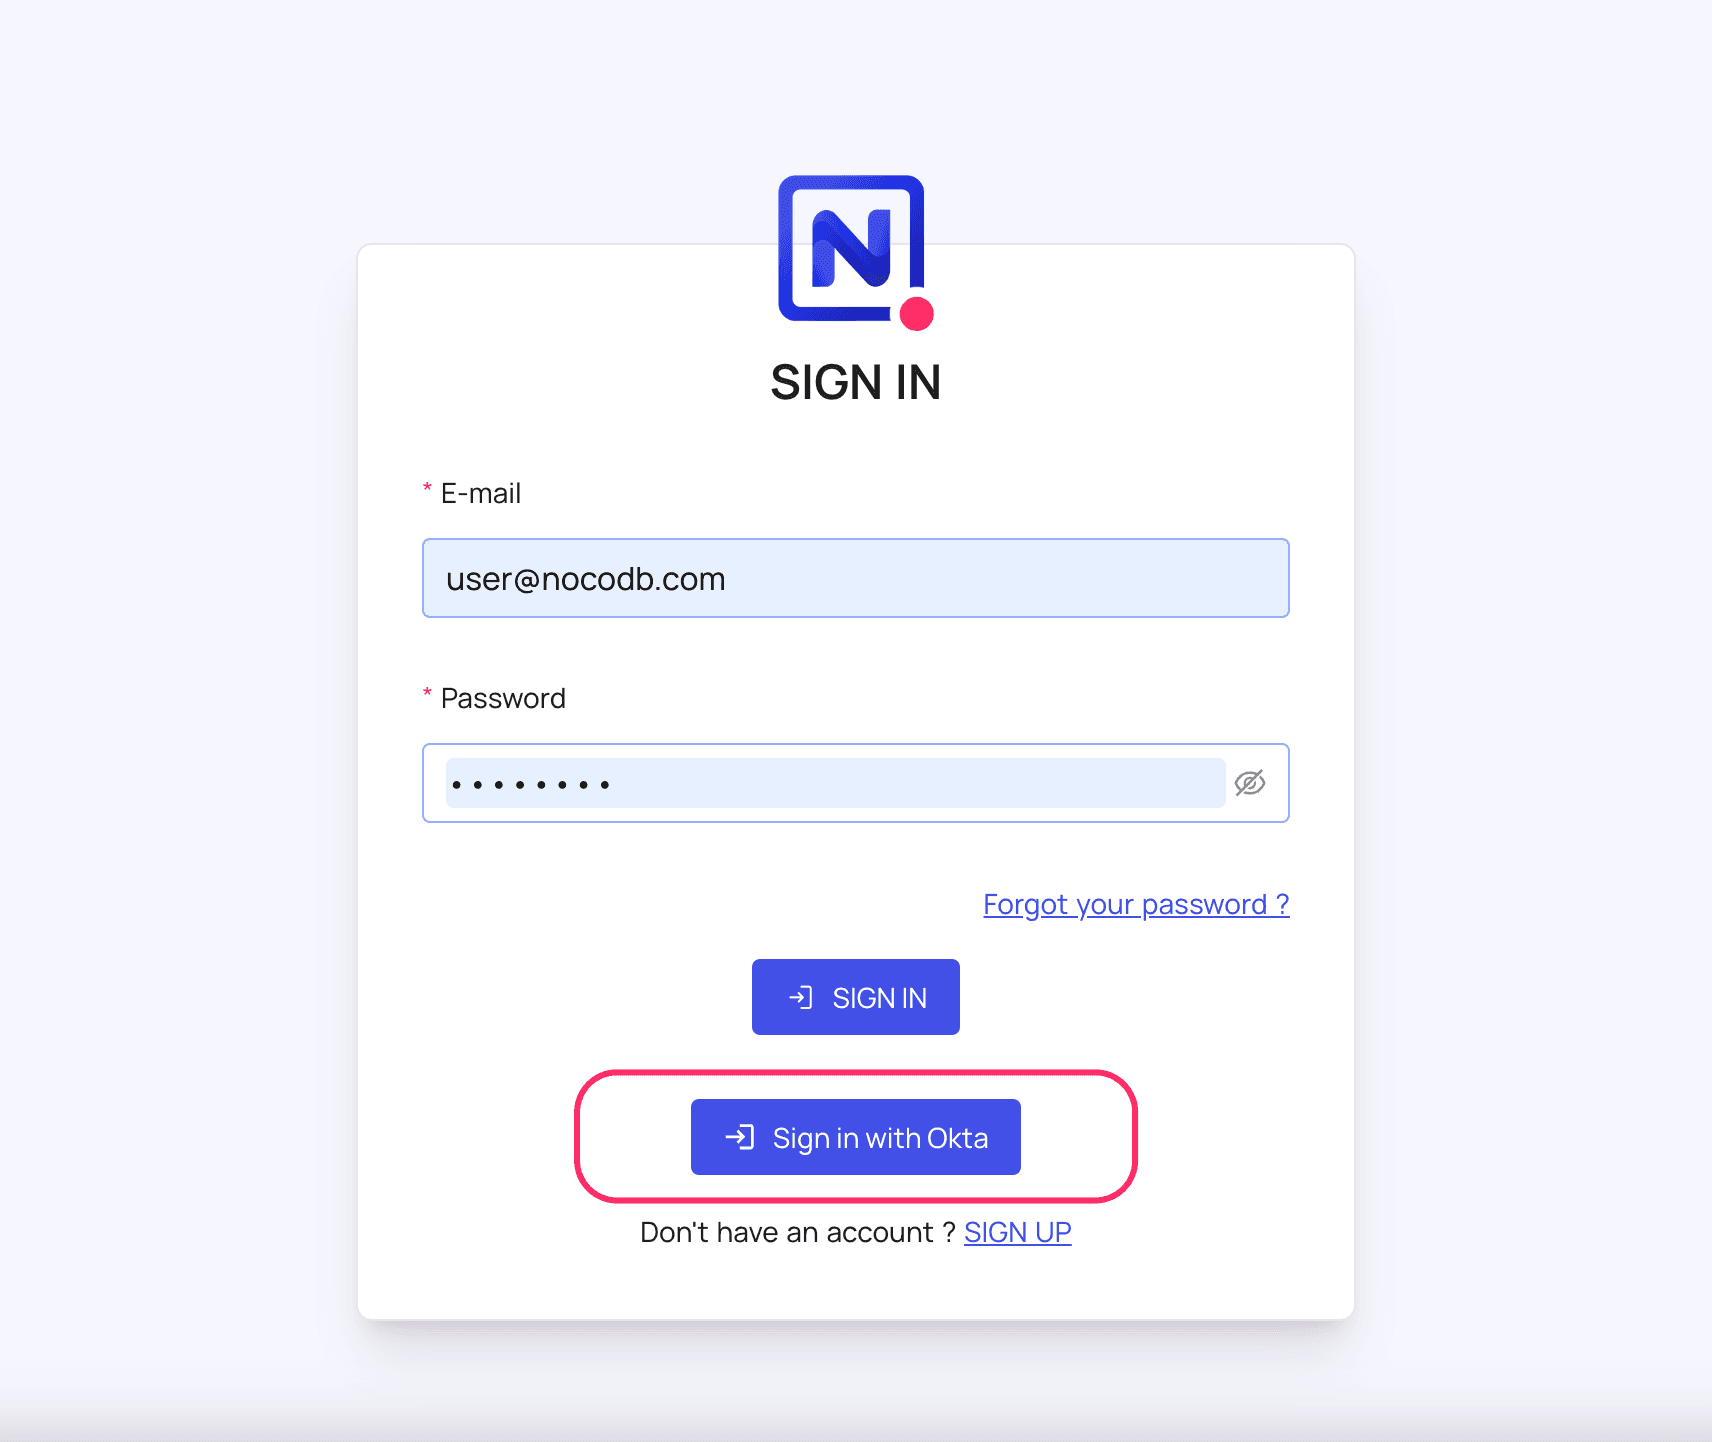
Post sign-out, refresh page (for the first time) if you do not see Sign in with SSO option
For information about Ping Identity API Scopes, refer here
For more common questions and troubleshooting, see our SSO FAQ.